Since this is the "official" safe thread, and it has a sticky, I thought I'd pass on a couple tips regarding how I completed the installation of the safe I got for a birthday present earlier this year.
First, since it's in the basement, and I was concerned about potential for a burst pipe and flooding, I wanted the safe up on 4x4 timbers. I took some measurements and fastened two pressure-treated 4x4s onto the concrete floor by drilling 1/2" holes to a depth of about 3" and using concrete wedge anchors like this:

I started by using a drill press to drill the 1/2" holes in the 4x4s, then I used a 1" forstner bit to widen the upper portion of the holes to allow the anchor nut and washer to be recessed below the top surface of the 4x4. I located the position of the holes in the floor by positioning the 4x4, running a 1/2" masonry bit down through the drilled hole, completing one hole, using the anchor to hold the 4x4 in position, then repeating the process for the other holes in each 4x4. After the 4x4s were anchored to the floor, I muscled the safe into position, drilled pilot holes, and bolted it down to the 4x4 timbers with 4 3" lag bolts. Of course, I was careful to position the anchor bolt holes sufficiently far away from the lag bolts. I positioned the safe with about 4" of space between the safe and the back wall of the basement.
The other thing I wanted was a decent door light. At the safe dealer in Mendon they wanted $250 for the option of an installed light system. I figured I could save some of that money. I started by cutting an extension cord to length and running it into the safe, then soldering and splicing the three-outlet female end back on inside the safe. Shrink tubing, etc. Now I have a source of 120 V AC inside the safe, instead of just a simple dehumidifier/heater. I picked up some nice rope lighting at Lowes, the stuff with white lights inside a 10' length of clear flexible sealed tubing. If I want more light I can simply add more lengths. It comes with clips that I was able to screw into the interior panels of the safe, and I routed against the inside of the door frame so you don't really see the source of the illumination when you open the safe.
The tricky part was the switch. I guess I could've just left the light plugged in all the time, but that's a lot more heat than is really needed to keep the safe dry. I headed over to You-Do-It Electronics off Rt. 128 in Needham and bought the following parts:
- A normally-open magnetic switch used in window alarm systems (Calrad Electronics part no. 40-657);
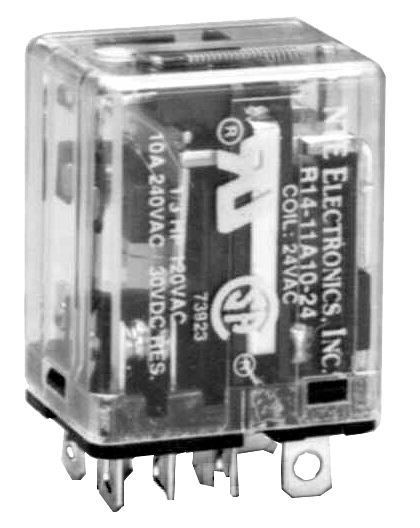
- A 10-amp AC and DC relay (NTE part no. R14-11D10-12); and
- An 8-pin rail mount socket for the relay
- I also found an old 12V power supply around the house so I saved a few bucks not having to buy one.
The magnetic switch worked perfectly, after I figured out that I bought a normally open model but all their product was mislabeled and was in fact normally closed. The relay is needed because the magnetic switch can't handle much power. So I took the 12V DC from the power supply and wired it in series to the coil end of the relay (pins 7 and 8). Then I took the 120V AC feed and wired it to pins 5 and 6 of the relay, and wired the light to pins 1 and 2. I experimented a little bit with the position of the magnetic switch on the bottom of the door so that it turns the light on after I have the door open a little bit. I used double-sided tape to position the switch but will drill and tap the steel door and frame for final mounting. I also need to clean up the wiring and tidy things up.
I'll post up some pics when I have it completed.