warwickben
bubba Kalashnikov
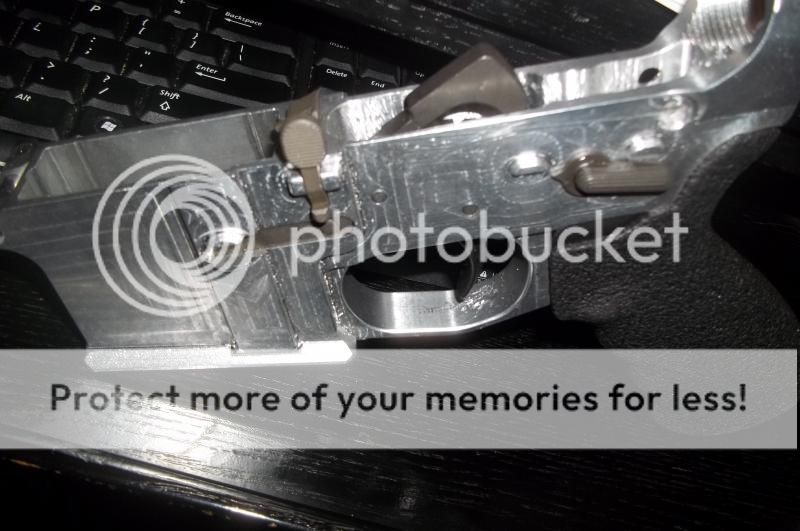
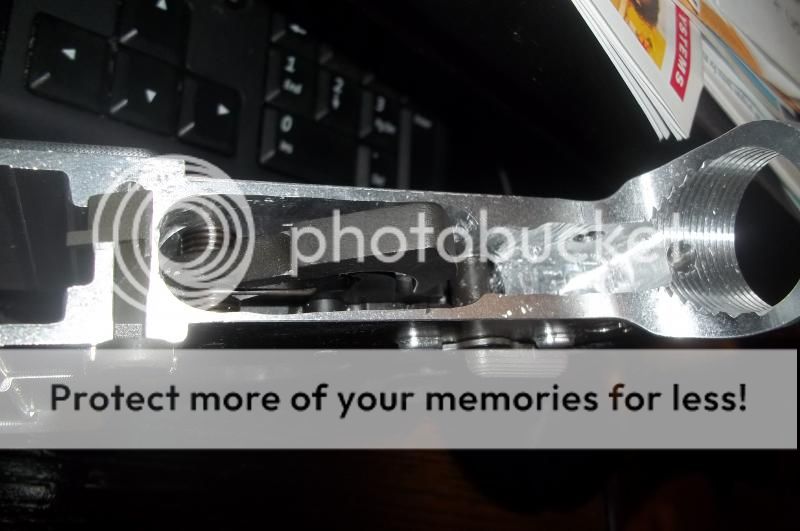
No press, no room for it. I got all Toth. I had a few problems and f-ed up a couple things but it was my fault not the tools.
The trigger guard tool hold downs are like pot metal . Friend bent then and they snapped.
If you enjoy the forum please consider supporting it by signing up for a NES Membership The benefits pay for the membership many times over.
Be sure to enter the NES/MFS May Giveaway ***Canik METE SFX***
No press, no room for it. I got all Toth. I had a few problems and f-ed up a couple things but it was my fault not the tools.


I had a free evening last night, so I decided to give it another try. I've got a few more 80% lowers that I will eventually finish the right way, but I wanted to apply some lessons-learned from the first one and see if I could do better.
This one is an Ares lower, which had the rear takedown pocket already milled. I used the same setup as before, but I used an end mill with shorter flutes, so they didn't hit the jig. I did use a new top plate for the jig, to replace the one that was buggered.

If you can hold off just a little, We are putting together a GB.
Getting better!
We have toyed with the idea of milling the takedown lug clearance in our 80%s. It does take a lot of the precision requirement out during the process. The problem is that the ATF is VERY critical of the amount of material removed in this location.
As for those of you speaking of a tool rental... We have also toyed with the idea of offering a tool/jig rental program. We would of course manufacture a jig capable of loaner duty...
Other Mfg's do it so I quess its ok with the ATF....
i won't post photos of the hack job i did on a 10/22 80% receiver...... oy vey.......
Google for " 10/22 80 receiver". First result seems to be the most popular maker. I've wanted to do one of these for quite a while.Sounds interesting. Where are these available from if you please?
i won't post photos of the hack job i did on a 10/22 80% receiver...... oy vey.......
As for those of you speaking of a tool rental... We have also toyed with the idea of offering a tool/jig rental program. We would of course manufacture a jig capable of loaner duty...
Tool hardened stainless? I can't imagine a jig capable of loaner duty!
![ROFL [rofl] [rofl]](/xen/styles/default/xenforo/smilies.vb/013.gif) no steel is stronger than stupidity (or ignorance)
no steel is stronger than stupidity (or ignorance)Getting a jig will make your life a lot easier. It can definitely be done without one, but they're relatively short money and last a long time if you're not chopping into them with the bits, so why not?I have a lower to finish, but I can't decide if I should jig it or do it manually.
I have a small mill, so I am not talking about eyeballing it with a marker and a drillpress.
I figured out a way to accurately locate the trigger and safety holes based on the locations of the already machined take down pins. I calculated the radial distance for each hole from each pin. A 0.25 inch pin with a center divot and a pair of dividers will let me mark an arc from each pin. Where they cross is where the hole goes. My trial runs at marking the lower look really good.
My real problem is holding the lower to mill the pocket.
It looks like I need a jig of some sort anyway just to be able to grab the thing.
The only think that looks promising is clamping the already machined grip area. My concern is that this puts the cut mighty far from the vise. Anyone done it this way before? Am I nuts? Should I just get a jig?
Also, is it a good idea to have the lower parts kit on hand while completing the lower, or does it not matter?
![Smile [smile] [smile]](/xen/styles/default/xenforo/smilies.vb/001.gif) Got me into actually machining things and now I work for a MIL-I-45208A Registered machine shop (Soon to be ISO 9001 under my supervision). But all in all I think some people never even touched a screwdriver that showed up to that party
Got me into actually machining things and now I work for a MIL-I-45208A Registered machine shop (Soon to be ISO 9001 under my supervision). But all in all I think some people never even touched a screwdriver that showed up to that party ![ROFL [rofl] [rofl]](/xen/styles/default/xenforo/smilies.vb/013.gif)
Golddiggie and Dave coached me. And mine came out perfectGot me into actually machining things and now I work for a MIL-I-45208A Registered machine shop (Soon to be ISO 9001 under my supervision). But all in all I think some people never even touched a screwdriver that showed up to that party
![ROFL [rofl] [rofl]](/xen/styles/default/xenforo/smilies.vb/013.gif)
there is that famous PDF (ARblank.pdf) about making a lower from 0% casting. The lower has to be held down with some really odd-ball setups to square away surfaces etc. but not of them is an actual jig. It's doable but take your time and make sure that you secure the piece well. The pdf can give you some ideas how to hold down the part.
It's usually called a milling vice. The problem with using one of those with a drill press is that actually milling with the drill press puts sideways pressure on the chuck, which drill presses aren't designed for. Your chuck will keep dropping out. Better off saving your nickels and dimes and getting a real mill.Any thoughts on this tool used with a drill press. Dont know about its quality.http://m.ebay.com/itm/231531175589
It's usually called a milling vice. The problem with using one of those with a drill press is that actually milling with the drill press puts sideways pressure on the chuck, which drill presses aren't designed for. Your chuck will keep dropping out. Better off saving your nickels and dimes and getting a real mill.
![Shocked [shocked] [shocked]](/xen/styles/default/xenforo/smilies.vb/007.gif)
![Laugh [laugh] [laugh]](/xen/styles/default/xenforo/smilies.vb/012.gif)
