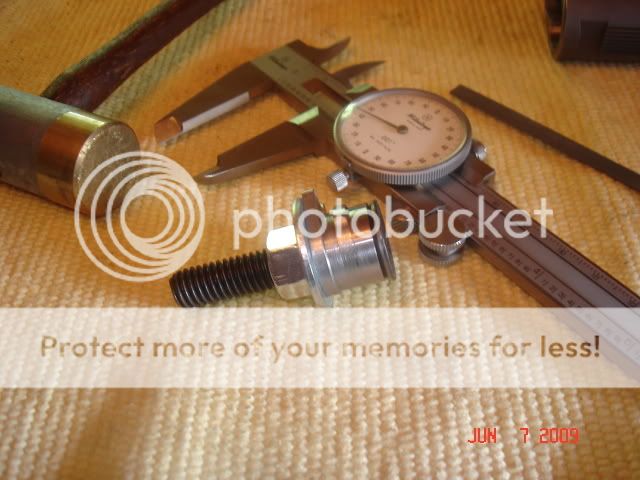
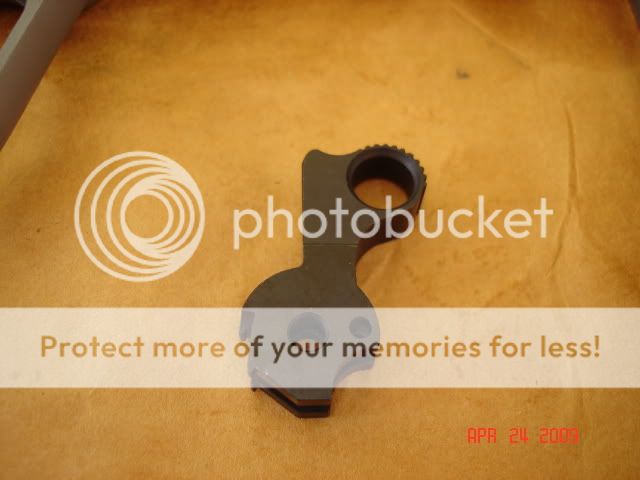
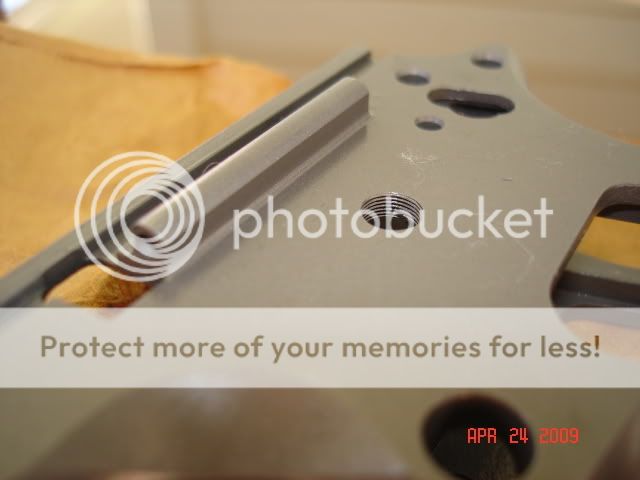
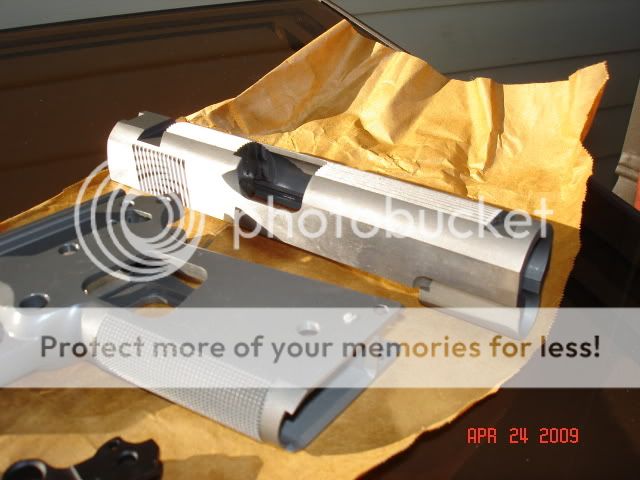
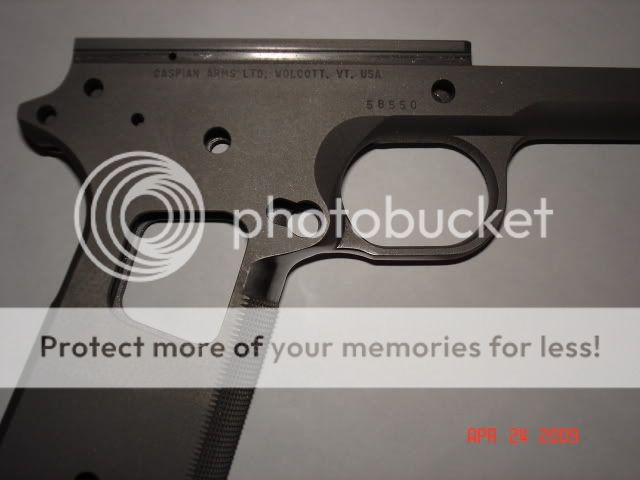
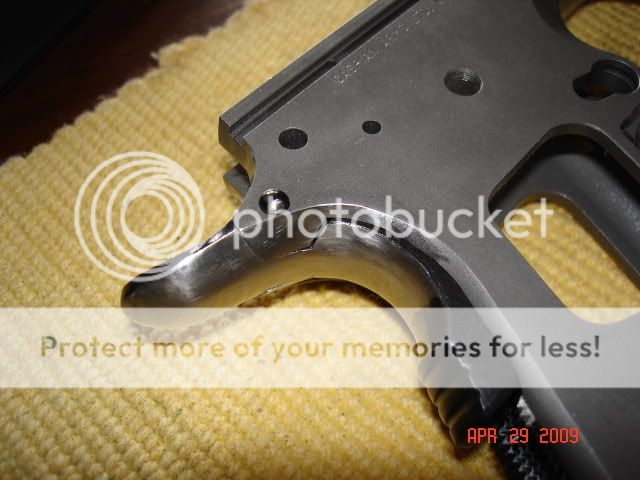
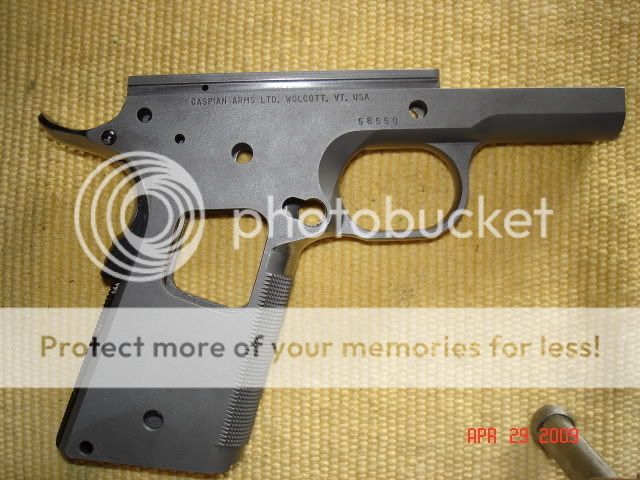
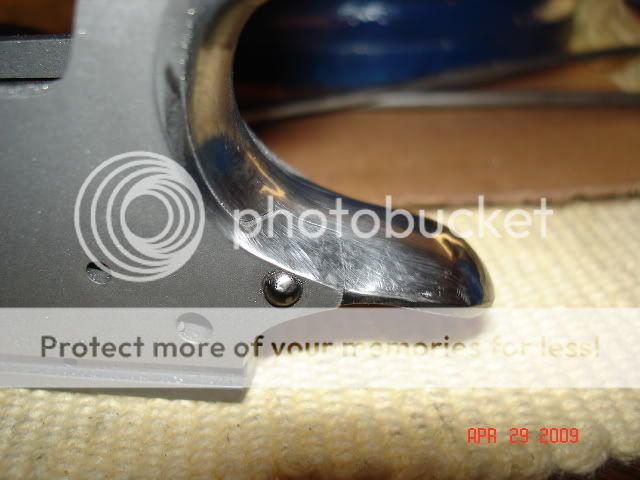
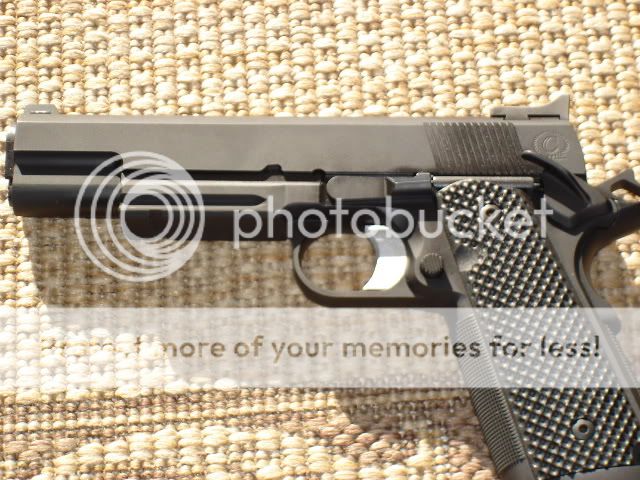
Well I just got my Slide, Frame and Hammer's, had to buy two. Took a little time to get but man I love these parts. I must say that this slide and frame are in better condition than my first build. What i am refering to is that on my first build the frame and slide had metal shavings stuck in every hole in the gun this time it is very clean. Anyway here are the parts I have for now. I plan on starting the bevel job, high cut the front strap and polishing the feed ramp breach face and other internal areas. I don't have the rest of the parts yet, have to call Brownells as I have a list ready. This is going to be my carry gun which will replace my Champion most of the time.
This is a carbon steel gun that I plan on Meloniting after she's all done.
I will try to post as often as I can but there will be lag time as I have a family and job to balance.
Sorry for the crappy pics and bad spelling.
Semper Fi
1*
This is a carbon steel gun that I plan on Meloniting after she's all done.
I will try to post as often as I can but there will be lag time as I have a family and job to balance.
Sorry for the crappy pics and bad spelling.
Semper Fi
1*

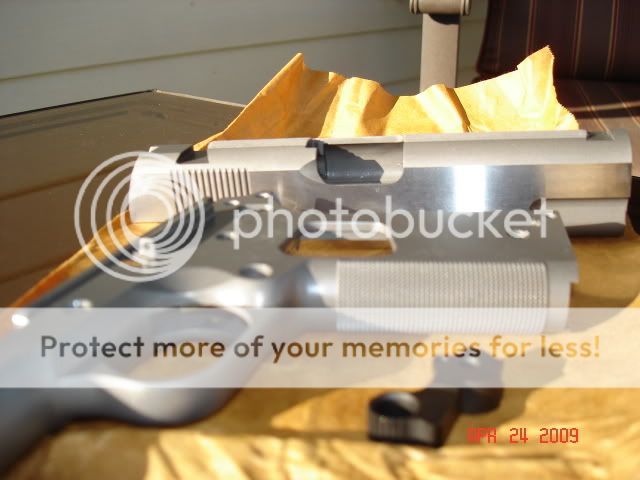
![[angry]](/xen/styles/default/xenforo/smilies.vb/008.gif "Angry [angry]") My Commander is going alot slower and will have those subtle touches that a good eye will catch.
My Commander is going alot slower and will have those subtle touches that a good eye will catch. ![[shocked]](/xen/styles/default/xenforo/smilies.vb/007.gif "Shocked [shocked]")
![[sad]](/xen/styles/default/xenforo/smilies.vb/004.gif "Sad [sad]") So I called Kart direct and talked to them about my Comm barrel. They were great to talk to and had two Comm Barrels left so I staked my claim on one of them. Now Im in the process of ordering the rest of my parts from Brownells which should get this project going again.
So I called Kart direct and talked to them about my Comm barrel. They were great to talk to and had two Comm Barrels left so I staked my claim on one of them. Now Im in the process of ordering the rest of my parts from Brownells which should get this project going again. ![[smile]](/xen/styles/default/xenforo/smilies.vb/001.gif "Smile [smile]")
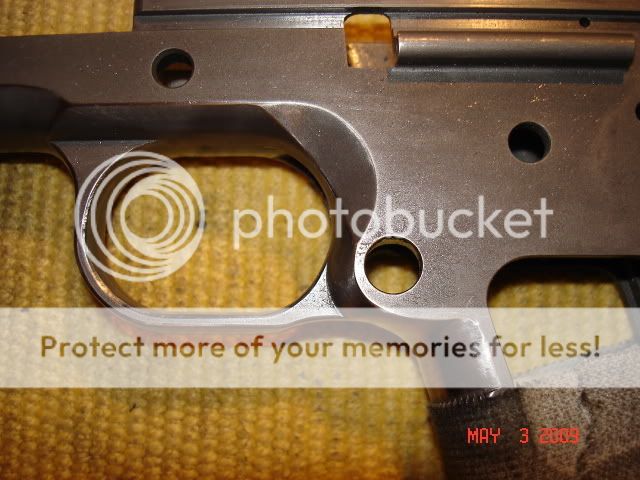

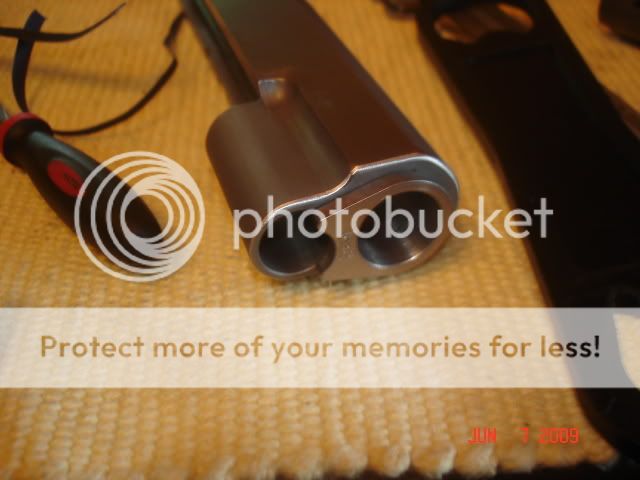
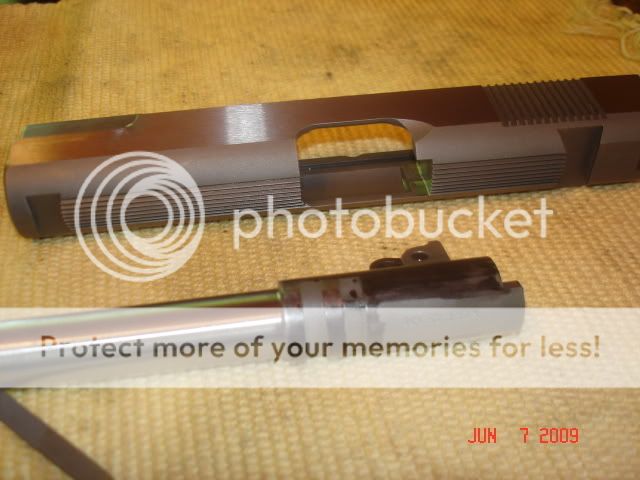
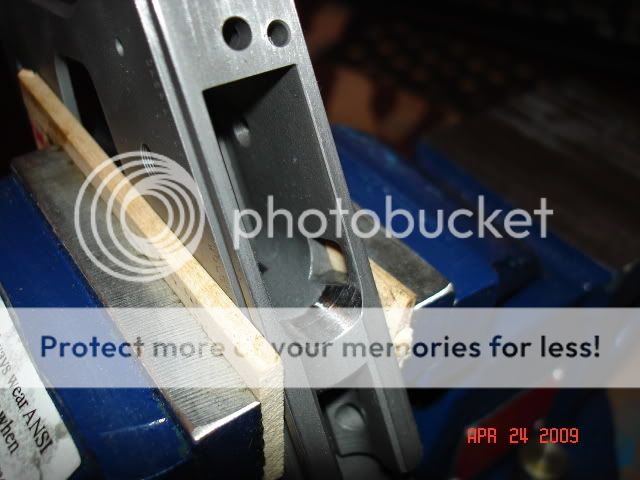
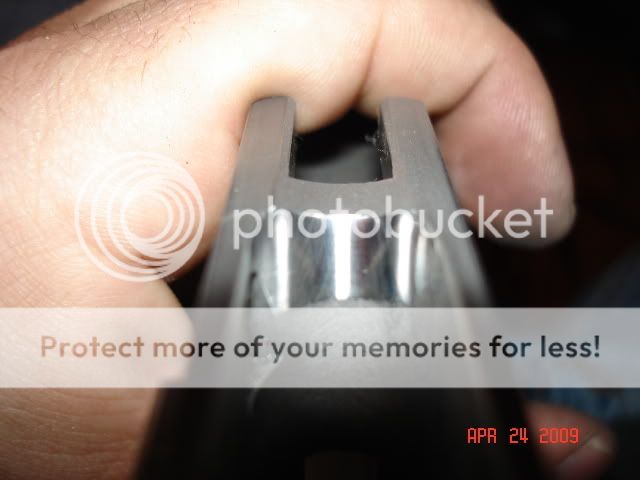
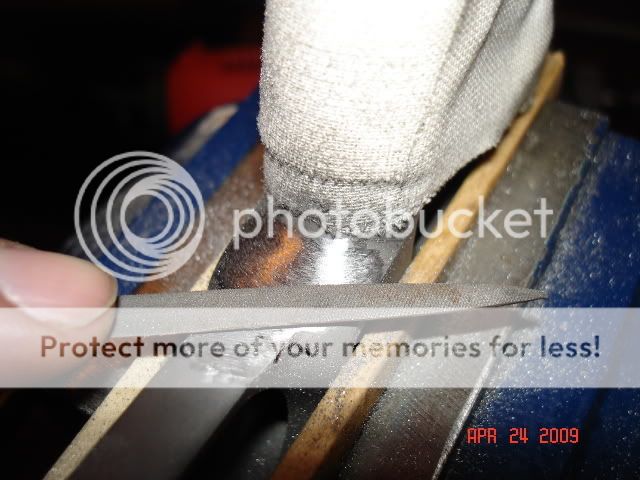
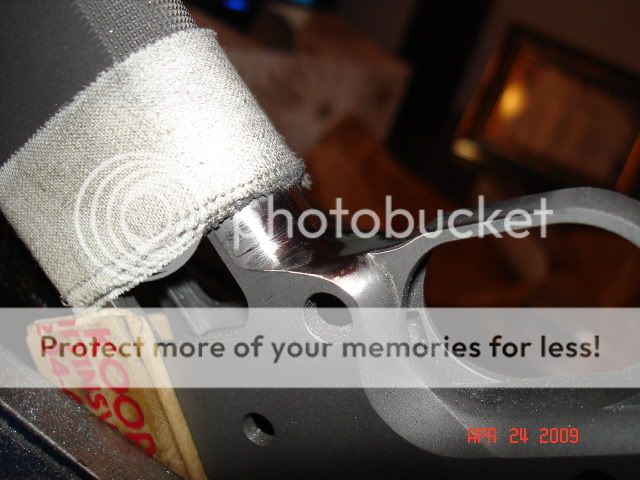
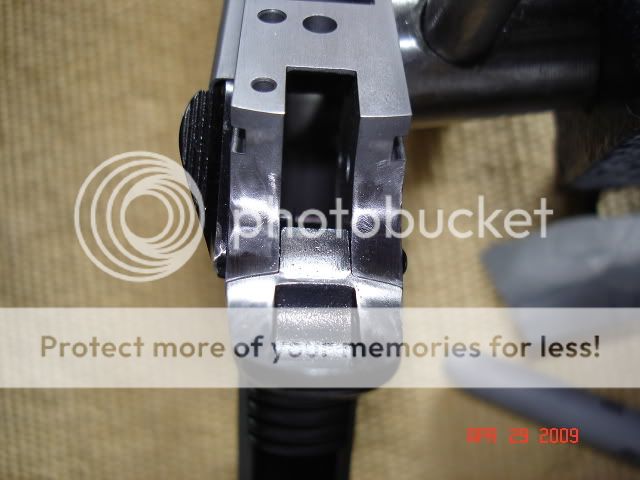
![[crying]](/xen/styles/default/xenforo/smilies.vb/006.gif "Crying [crying]") I am in the process of working the inside of the slide and the barrel while not removing to much from the locking lugs. .055 being the minimum safety limit.
I am in the process of working the inside of the slide and the barrel while not removing to much from the locking lugs. .055 being the minimum safety limit.