I split mine as a matter of simplicity to reconfigure when I need to.
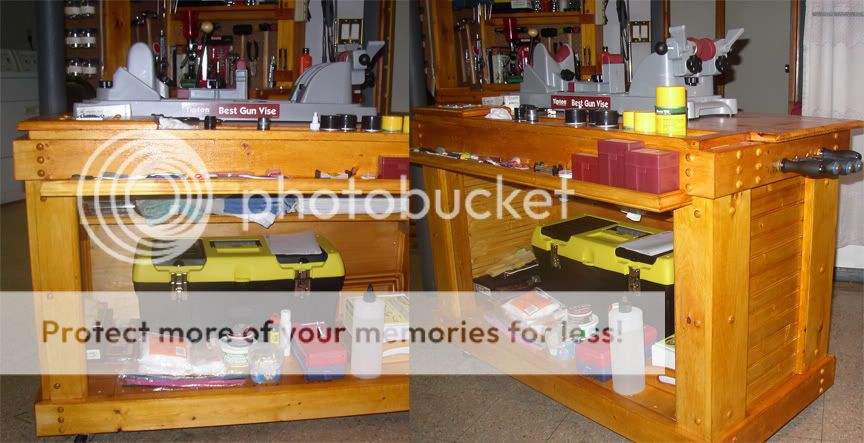
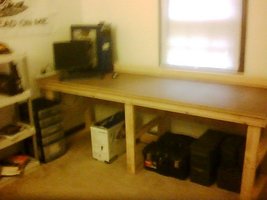
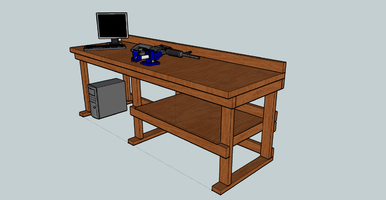
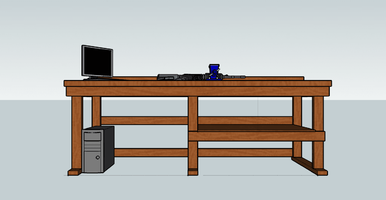
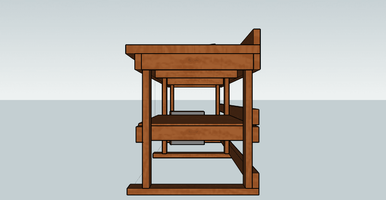
My reloading bench with locking cabinets for powder and factory loads on one end. Though not shown, the doors have peg boards and shelfs on the outside for more containers and small tools, brushes, whatever. There is another panel on top for primers. The platform the little Lee loader is on has holes bored into it to accept the other loaders and the platform itself gets bolted to the top. That way the surface itself has only 4 small holes.:
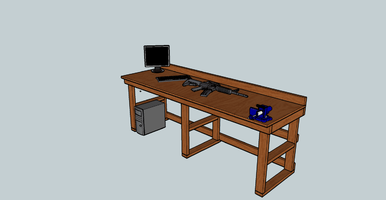
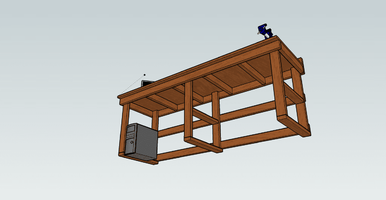
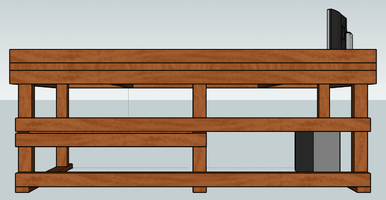
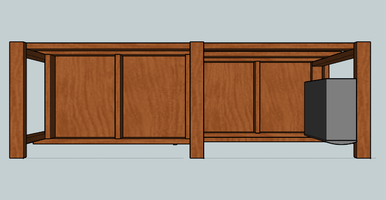
My workbench for cleaning, repairs, scope mounting, etc. It's on lockable, ballbearing casters so I can join it with the reloader or just move it for convinence. The rods slide into tubing under the top surface. The block on the top left locks itself into the spray can drop and is used as a knife sharping base for Lansky sharpeners. It is removable.
I think the rest is self explanitory.


![[wink]](/xen/styles/default/xenforo/smilies.vb/002.gif "Wink [wink]")