Just got my LTC two months ago and I've already accumulated three handguns. I wanted a way to lock them up and neatly store ammo, holsters, cleaning equipment and a small fire resistant "safe" that I've been "hiding" under my bed for five years. It had to be really affordable, it had to be lightweight enough to get up to my second-floor apartment, it had to be modular and have the ability to adapt when I purchase more guns or maybe become an ammo only storage cabinet if I get a real safe someday. I got pretty close to buying the Stack On 18 gun convertible cabinet on sale for $189 and then I got the idea to buy the narrower 10 gun for $110 so it would fit better in my bedroom closet and make my own shelves with scrap particle board I already had. I also built a handgun rack and installed lights. It came out better than I expected so I decided to make a little how-to.
Materials:
Stack On 10 or 14 gun cabinet
E5 shelf track $3 / 72" length
E5 brackets $3 / 12
Plywood or particleboard or MDF
1-2 yards of felt $5 / linear yard (72" wide roll so 1 yard is actually 2 sq yards)
Aluminum pop-rivets
Tools:
Table saw or circular saw
Drill and bits
Tape measure
Combination square
Pop-riveter
Staple gun
Hammer
Drop-light
Scissors
I decided on four shelves plus a floor so 2 72" lengths of E5 cut in half gave me 4 36" lengths. The inside depth of the cabinet is just over 12" so I decided on 8-1/2" deep shelves so they wouldn't interfere with the lock mechanism and also so I could stand up a shotgun between the shelves and the door when I get one. If you're using the cabinet for handguns or ammo only then you could use more shelves, make the shelves a few inches deeper and place them so they won't be in the way of the lock.
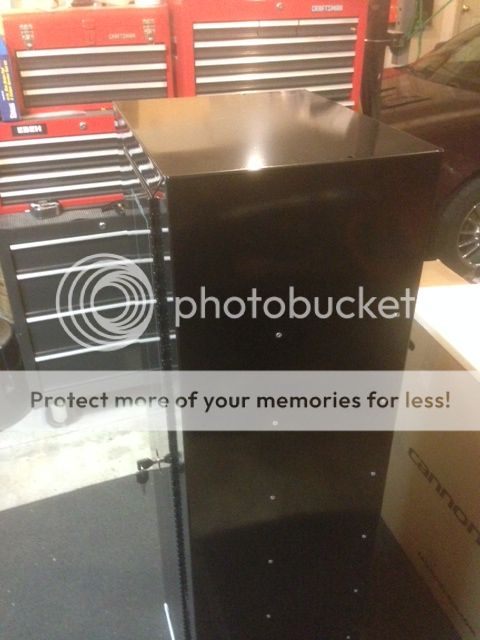
Lay the cabinet on it's side and use some painters tape to protect the finish while you lay the shelf track on the outside of the cabinet to get it square and mark the holes. Mine starts about 8" from the top of the cabinet which leaves a lot of space between the lowest shelf and the floor so I can open my little fire resistant safe. You might want that space for heavy ammo cans. In any case, get it how you want it and drill your holes. Repeat 4 times, use aluminum rivets to mount the track so you don't crush it and you should have this:

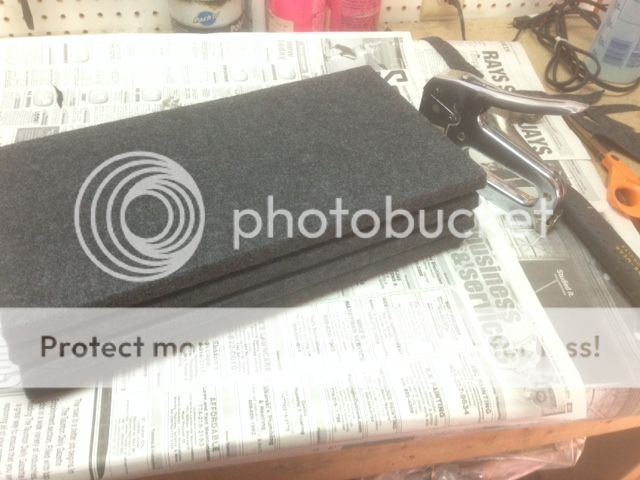
Decide on your size and number of shelves. Cut them out. Remember to cut them 1/16" - 1/8" smaller to compensate for the thickness of the felt. Mine are 16-3/4" wide and 8-1/2" deep. Cover them with felt. I had never done this before but it's just like wrapping a present. Cut the felt bigger than you need, place the "good side" of the shelf face down, pull one edge of the felt over and staple it down about every inch. Use a hammer to hit them down flat if necessary. Pull the opposite edge over and fold it over an inch like the hem on your clothes, keep it REALLY tight and staple it down. Repeat with the other two sides and it should look something like this:

That ugly seam will be underneath and towards the rear of the cabinet once installed.
I forgot to take a photo but I also made a floor to complete the look and help reinforce the bottom of the cabinet. I used a 1" diameter Forstner bit to make two 3/8" deep flat-bottom holes and I notched the front edge in two places to clear the bottom of the door jamb before I covered it with felt. I then used a razor to make a small access slit over each of the flat bottom holes. When I mount the cabinet to the sub-floor of the house I'll drop the lag bolts through the little slits and the heads will sit down in the flat bottom holes. There's enough clearance to get a socket on the heads, too. Then I'll close up the slit and there will be a nice felt-over-wood floor to help hold the cabinet down if someone ever tries to rock it loose.
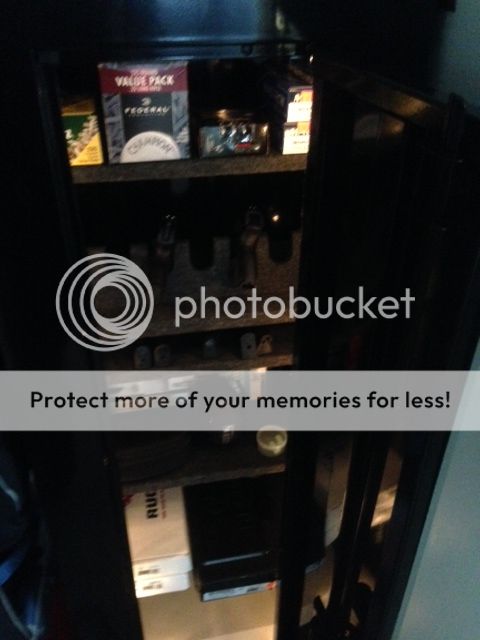
I also made a little L-bracket from some 18 gauge and used two switches to control the lighting. One switch is door activated like a fridge and the other switch opens the circuit so I can leave the door open with the light off while I'm home. I had planned to buy some LED or incandescent rope lighting but I had a brand new string of Christmas tree mini lights that were never used because they had a white cord and looked awful on the tree. Adhesive zip-tie mounting squares and zip-ties secure the lights around the inside of the jamb:

I also used a drill press and jig saw to make a handgun rack with mag storage underneath. I covered it with the same felt but I had to use spray adhesive. It was a pain to make but it turned out decent. If I had to do it again I would probably just buy the manaboutracks.com racks.
Finished version:
Materials:
Stack On 10 or 14 gun cabinet
E5 shelf track $3 / 72" length
E5 brackets $3 / 12
Plywood or particleboard or MDF
1-2 yards of felt $5 / linear yard (72" wide roll so 1 yard is actually 2 sq yards)
Aluminum pop-rivets
Tools:
Table saw or circular saw
Drill and bits
Tape measure
Combination square
Pop-riveter
Staple gun
Hammer
Drop-light
Scissors
I decided on four shelves plus a floor so 2 72" lengths of E5 cut in half gave me 4 36" lengths. The inside depth of the cabinet is just over 12" so I decided on 8-1/2" deep shelves so they wouldn't interfere with the lock mechanism and also so I could stand up a shotgun between the shelves and the door when I get one. If you're using the cabinet for handguns or ammo only then you could use more shelves, make the shelves a few inches deeper and place them so they won't be in the way of the lock.
Lay the cabinet on it's side and use some painters tape to protect the finish while you lay the shelf track on the outside of the cabinet to get it square and mark the holes. Mine starts about 8" from the top of the cabinet which leaves a lot of space between the lowest shelf and the floor so I can open my little fire resistant safe. You might want that space for heavy ammo cans. In any case, get it how you want it and drill your holes. Repeat 4 times, use aluminum rivets to mount the track so you don't crush it and you should have this:


Decide on your size and number of shelves. Cut them out. Remember to cut them 1/16" - 1/8" smaller to compensate for the thickness of the felt. Mine are 16-3/4" wide and 8-1/2" deep. Cover them with felt. I had never done this before but it's just like wrapping a present. Cut the felt bigger than you need, place the "good side" of the shelf face down, pull one edge of the felt over and staple it down about every inch. Use a hammer to hit them down flat if necessary. Pull the opposite edge over and fold it over an inch like the hem on your clothes, keep it REALLY tight and staple it down. Repeat with the other two sides and it should look something like this:

That ugly seam will be underneath and towards the rear of the cabinet once installed.

I forgot to take a photo but I also made a floor to complete the look and help reinforce the bottom of the cabinet. I used a 1" diameter Forstner bit to make two 3/8" deep flat-bottom holes and I notched the front edge in two places to clear the bottom of the door jamb before I covered it with felt. I then used a razor to make a small access slit over each of the flat bottom holes. When I mount the cabinet to the sub-floor of the house I'll drop the lag bolts through the little slits and the heads will sit down in the flat bottom holes. There's enough clearance to get a socket on the heads, too. Then I'll close up the slit and there will be a nice felt-over-wood floor to help hold the cabinet down if someone ever tries to rock it loose.
I also made a little L-bracket from some 18 gauge and used two switches to control the lighting. One switch is door activated like a fridge and the other switch opens the circuit so I can leave the door open with the light off while I'm home. I had planned to buy some LED or incandescent rope lighting but I had a brand new string of Christmas tree mini lights that were never used because they had a white cord and looked awful on the tree. Adhesive zip-tie mounting squares and zip-ties secure the lights around the inside of the jamb:

I also used a drill press and jig saw to make a handgun rack with mag storage underneath. I covered it with the same felt but I had to use spray adhesive. It was a pain to make but it turned out decent. If I had to do it again I would probably just buy the manaboutracks.com racks.
Finished version:

Last edited:


