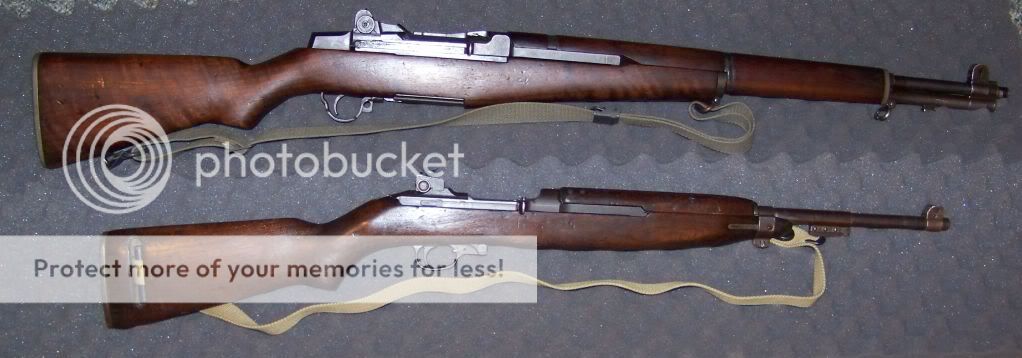
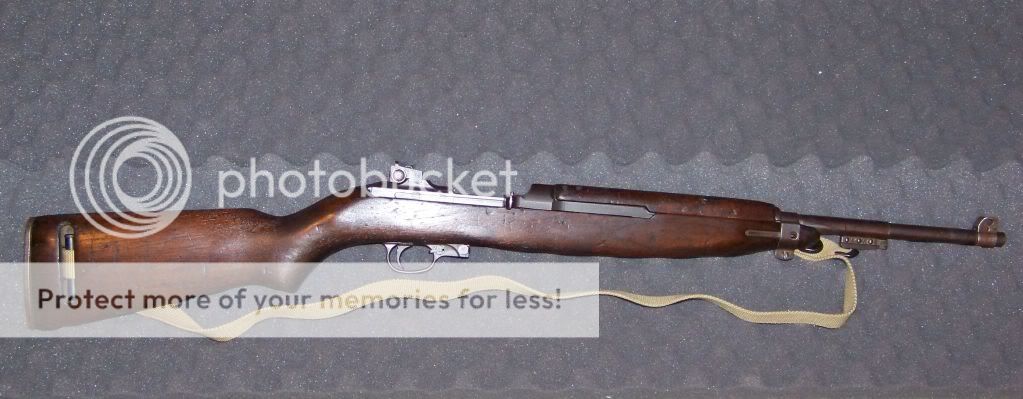
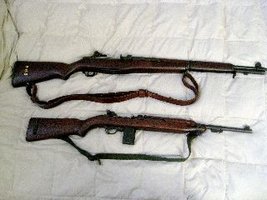
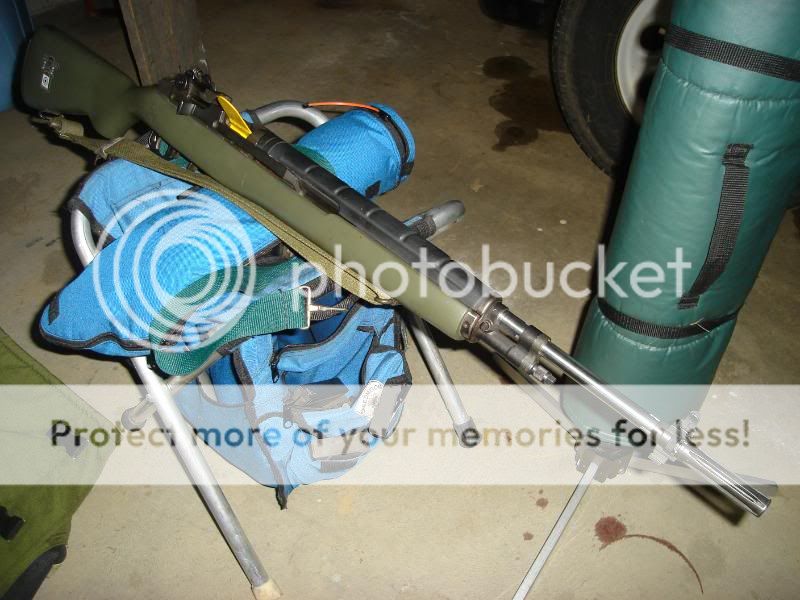
My 1943 Inland. CMP Rack Grade, stock was totally refinished.

If you enjoy the forum please consider supporting it by signing up for a NES Membership The benefits pay for the membership many times over.
Be sure to enter the NES/MFS May Giveaway ***Canik METE SFX***

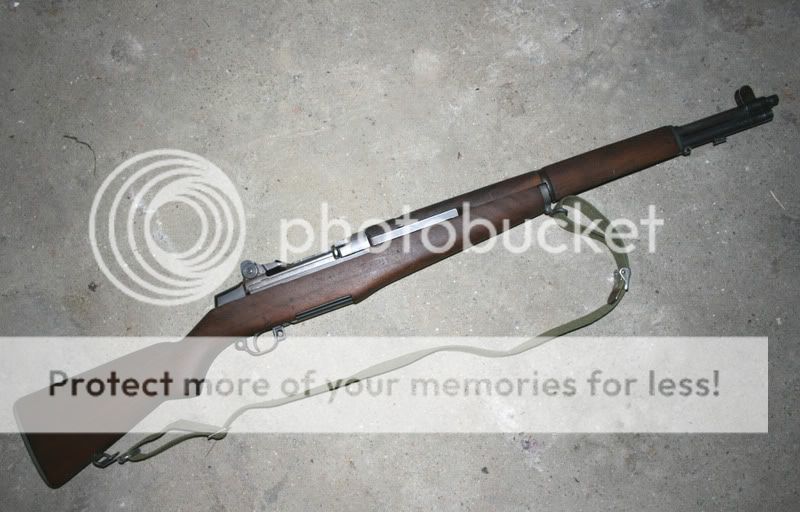
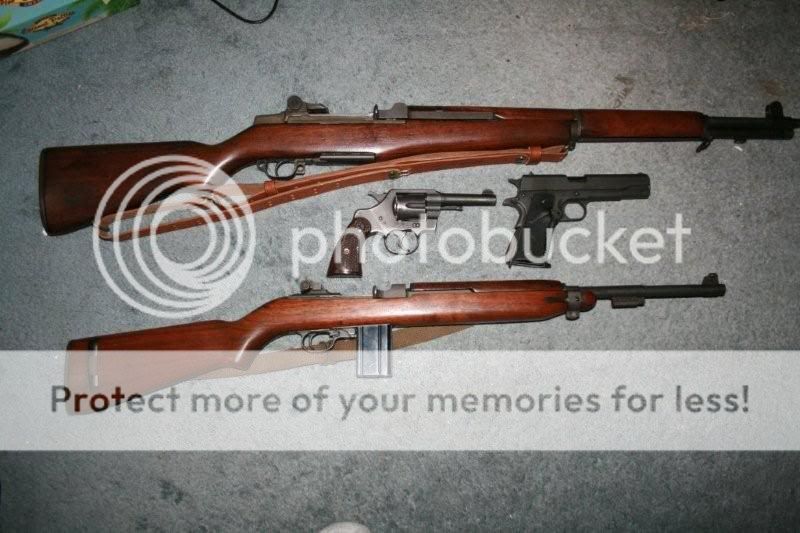
Get any documentation you can. A legitimate vet bring back is worth five figures. There are very, very few documented cases. "Buy the gun, not the story." You can email CMP and they will tell you if it is a DCM/CMP rifle.Scored a ridiculous deal off GB a few weeks back
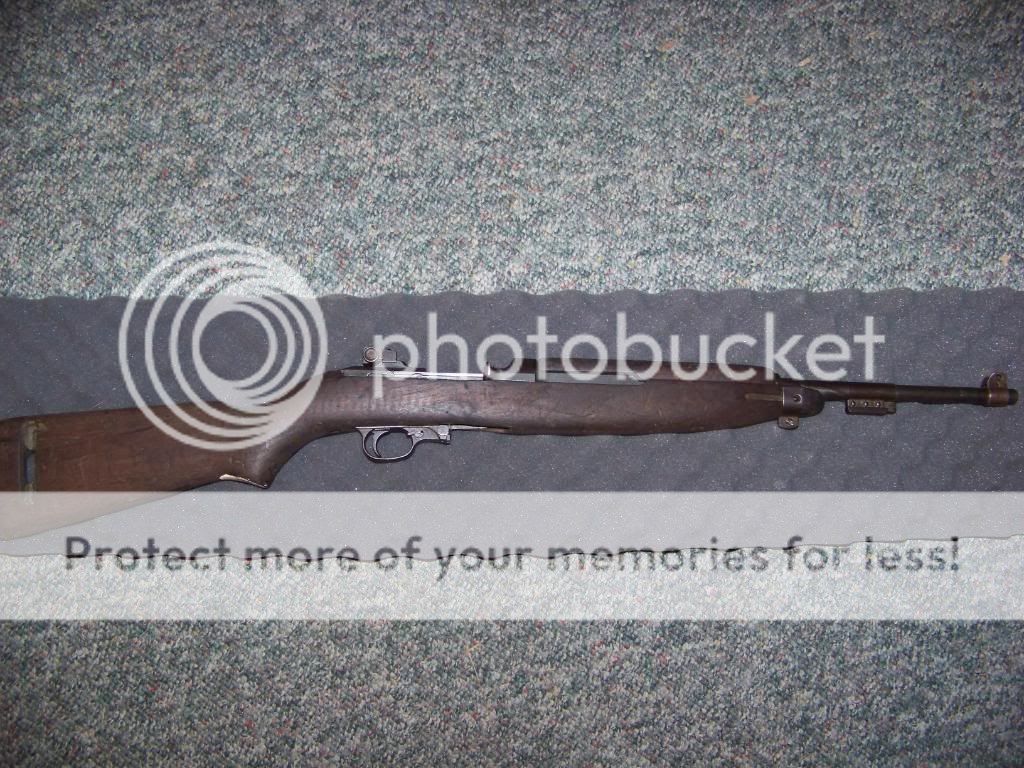
it's a GI Bring back 1943 SA Garand that was re-barreled June 1944. No import marks, just the armorers marks. Its in great shape, showing a little muzzle wear but all in all I'm super happy with it.
Haven't shot pix of it yet but I did shoot this group with it at 200 yards//
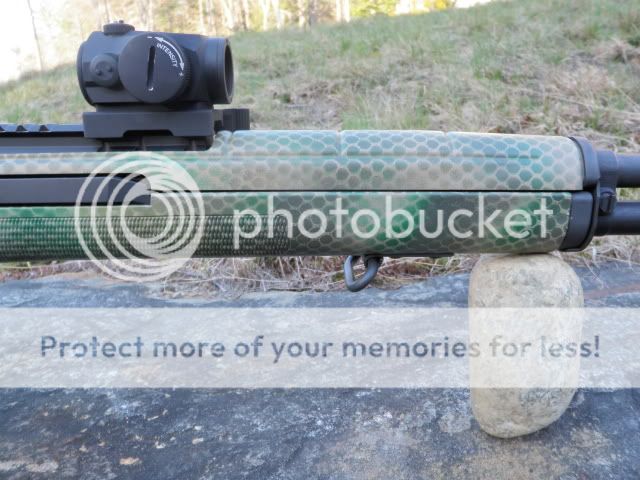
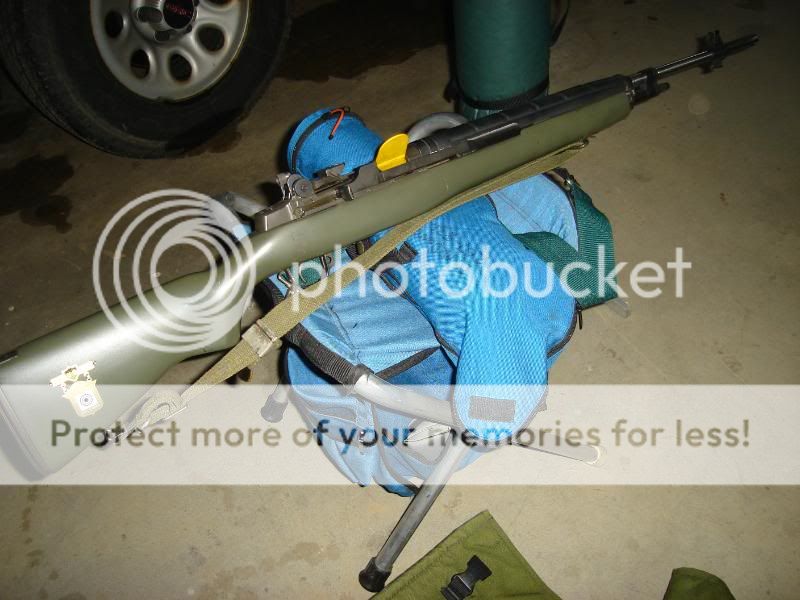
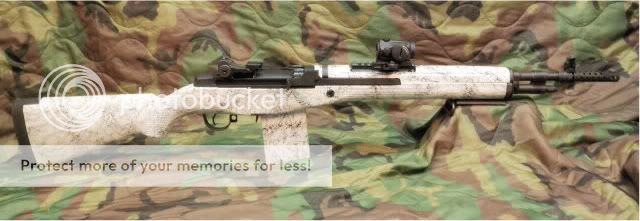
M1A Scout
Aimpoint Micro H-1
Self painted
![[grin]](/xen/styles/default/xenforo/smilies.vb/041.gif "Grin [grin]")
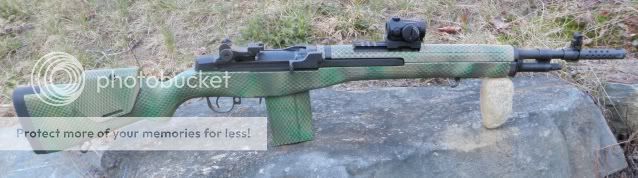
M1A Scout
Aimpoint Micro H-1
Self painted
[/QUOTE]
Looks great! Got a high res version of that picture?
AndyinNH,
Can I ask where you got the front sling mount


Looks great! Got a high res version of that picture?
Got a high res version of that picture?


WOW! How did you do it?
No high res pics... just close ups.
]
Sweet looking rifle! Great paint job! The micro doesn't co-witness with the irons though, right?
![[cheers]](/xen/styles/default/xenforo/smilies.vb/018.gif "Cheers [cheers]")
...I'm assuming you laid a net of some type over the rifle? If so, how do you keep the net aligned in the same position when you change paint colors? ....