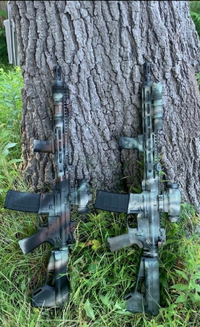
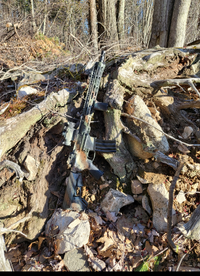
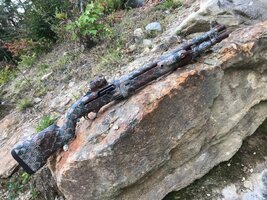
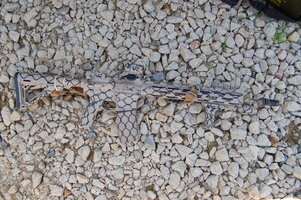
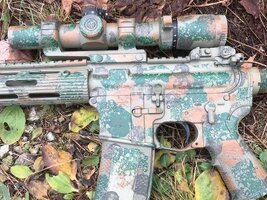
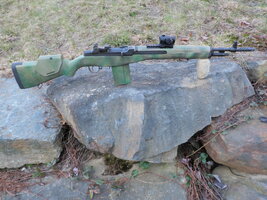
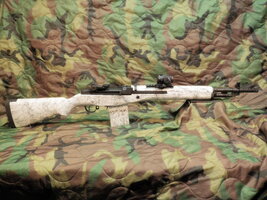
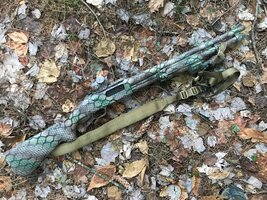
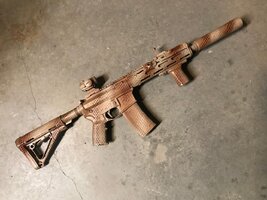
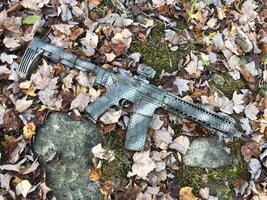
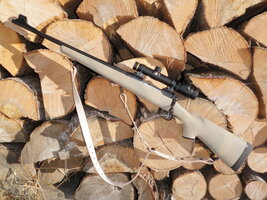
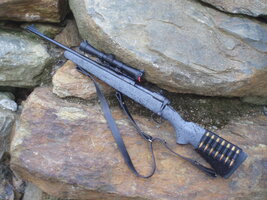
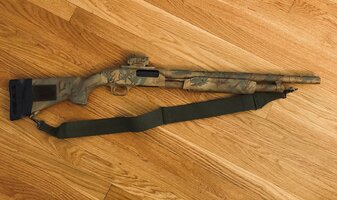
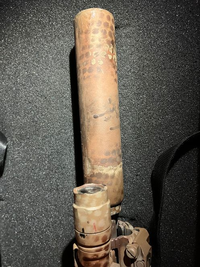
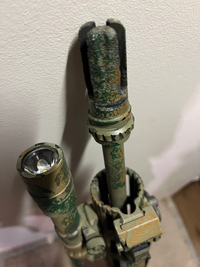
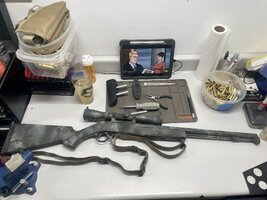
Sup nes? I got a rare 80 degree low humidity day so let's get our bob ross on!
First, I removed the velcro strap from the pistol. It's my understanding that it's very bad to modify this in any way, so I'm leaving it unpainted. I masked up anything rubber, the lenses on my optic and light, the magwell, the buttpad, the trigger and trigger cut, and stuffed a bunch of tape in the end of the trash can. Don't want any paint getting in the moving parts of my already sloppy-toleranced poverty pony/psa upper. Then washed down really well with everclear, making sure to remove any bit of grease. I did this twice. Left in the sun a half hour and a bit more oil seeped out of the crevices, so some work with Q tips was needed. Then hit it with the air compressor to remove any dust.
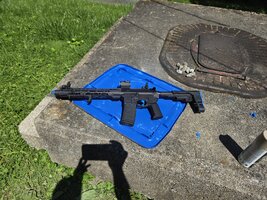
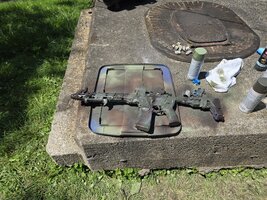
Next two coats of krylon khaki as a base coat. I did a bunch of samples on random objects and the khaki made the later greens and reds look closest to the way I wanted. We don't want any black to show through so it's very important to get good coverage. I also let this cure for 4 hours in the sun. You really want the base coat to stick well.
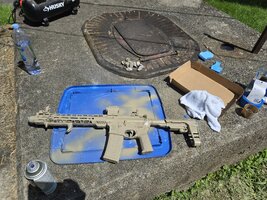
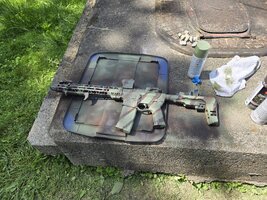
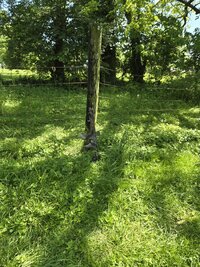
Then hand-width stripes of krylon camo army green alternated with rustoleum camo sage green, two coats. No big deal to leave any khaki showing, as you can see there's plenty of that color in my yard, which is exactly how I chose my colors.
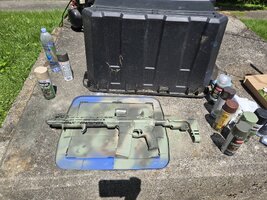
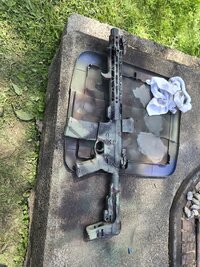
Then tape, lots and lots of tape. You know when you tear a piece of paper and the edge is kind of random? Well you can do the same thing with masking tape which makes this easy. Why pay for stencils from amazon? $7? f*** that, I'm a skinflint. You want to make irregular stripes, think half dripping liquid and half-defined edges. Like mud. Most people use vertical stripes at a slight angle. Think of the way you would carry a rifle slung, you want to make horizontal stripes in that position. You would think you would want vertical stripes, but it's counterintuitive. When you look at things at a macro level like you're looking at a mountain over a field over a river those are all horizontal shapes. This is gonna take a shitload of tape, lets go!
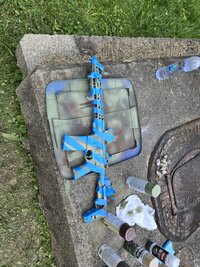
Then I put one nice light coat of Hunter Specialtie's mud brown. I love this color. It has that limestone and clay look that the soil in this region. Also reminds me of the German Fleck red. This one doesn't like the heat today so gotta be careful. Then MORE FKIN TAPE. I swear I'm not looking at painter's tape ever again after this. I'm adding to the margins I made before, this color's actually a little bright so I'm making smaller stripes.
First, I removed the velcro strap from the pistol. It's my understanding that it's very bad to modify this in any way, so I'm leaving it unpainted. I masked up anything rubber, the lenses on my optic and light, the magwell, the buttpad, the trigger and trigger cut, and stuffed a bunch of tape in the end of the trash can. Don't want any paint getting in the moving parts of my already sloppy-toleranced poverty pony/psa upper. Then washed down really well with everclear, making sure to remove any bit of grease. I did this twice. Left in the sun a half hour and a bit more oil seeped out of the crevices, so some work with Q tips was needed. Then hit it with the air compressor to remove any dust.

Next two coats of krylon khaki as a base coat. I did a bunch of samples on random objects and the khaki made the later greens and reds look closest to the way I wanted. We don't want any black to show through so it's very important to get good coverage. I also let this cure for 4 hours in the sun. You really want the base coat to stick well.

Then hand-width stripes of krylon camo army green alternated with rustoleum camo sage green, two coats. No big deal to leave any khaki showing, as you can see there's plenty of that color in my yard, which is exactly how I chose my colors.

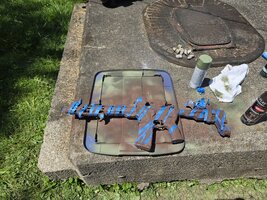
Then tape, lots and lots of tape. You know when you tear a piece of paper and the edge is kind of random? Well you can do the same thing with masking tape which makes this easy. Why pay for stencils from amazon? $7? f*** that, I'm a skinflint. You want to make irregular stripes, think half dripping liquid and half-defined edges. Like mud. Most people use vertical stripes at a slight angle. Think of the way you would carry a rifle slung, you want to make horizontal stripes in that position. You would think you would want vertical stripes, but it's counterintuitive. When you look at things at a macro level like you're looking at a mountain over a field over a river those are all horizontal shapes. This is gonna take a shitload of tape, lets go!

Then I put one nice light coat of Hunter Specialtie's mud brown. I love this color. It has that limestone and clay look that the soil in this region. Also reminds me of the German Fleck red. This one doesn't like the heat today so gotta be careful. Then MORE FKIN TAPE. I swear I'm not looking at painter's tape ever again after this. I'm adding to the margins I made before, this color's actually a little bright so I'm making smaller stripes.

Last edited:

![Laugh [laugh] [laugh]](/xen/styles/default/xenforo/smilies.vb/012.gif)
