Jamie
NES Member
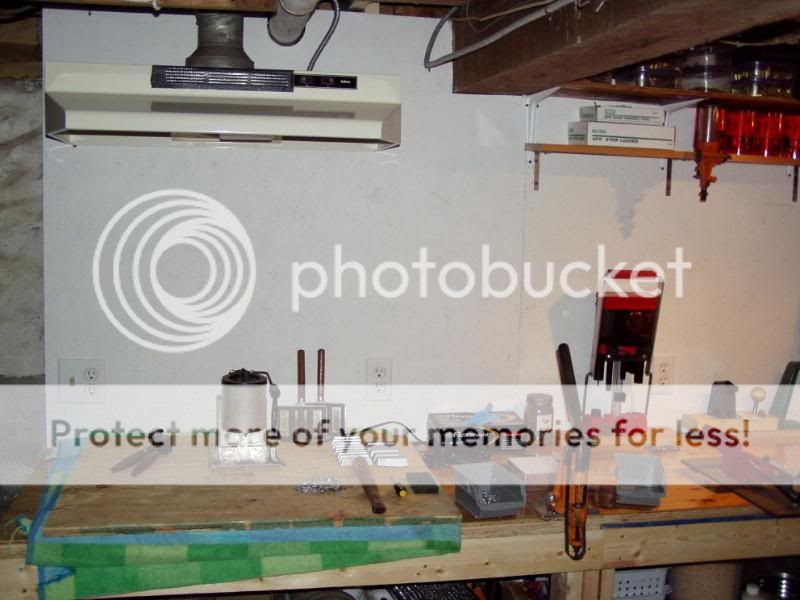
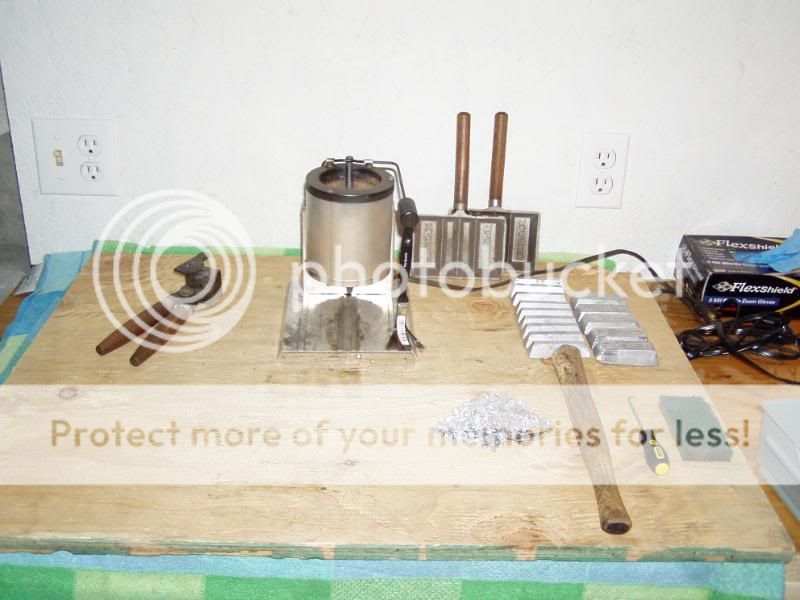
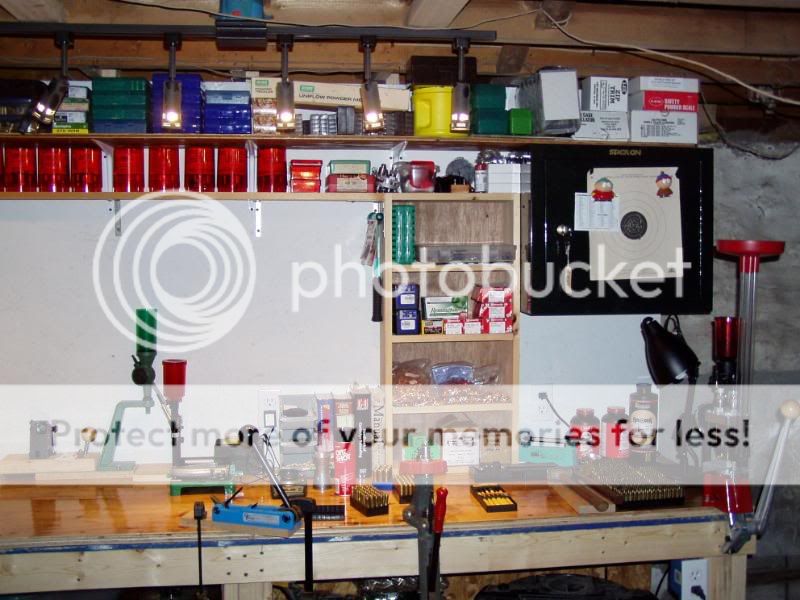
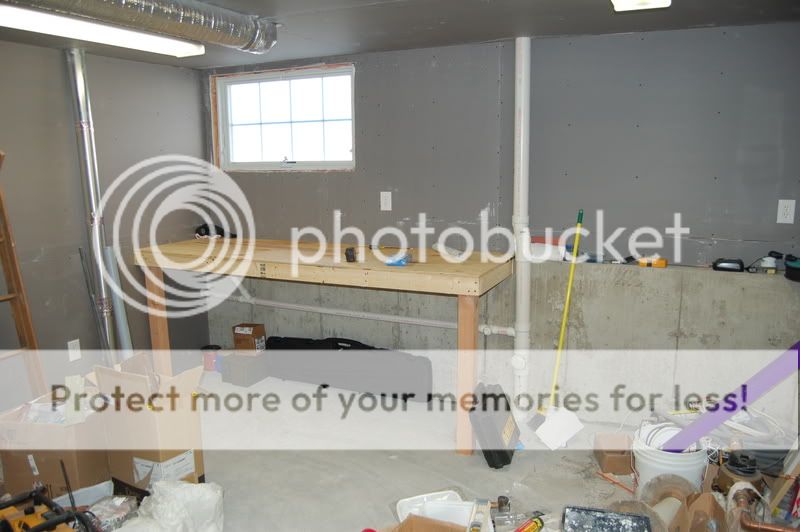
As many of you may know, I sold my house and moved in with my sister. I've had to downsize just about everything, but am fairly comfortable here. My only real issue is not having space for my reloading equipment. Right now it's in the same 8'x10' room as my guns and you can't swing a dead cat without hitting a gun safe or banging your shins on my dinky little reloading bench. Everything is piled up and a huge mess. It's also right next to my neices playroom and my stuff is slowly spilling into her space.
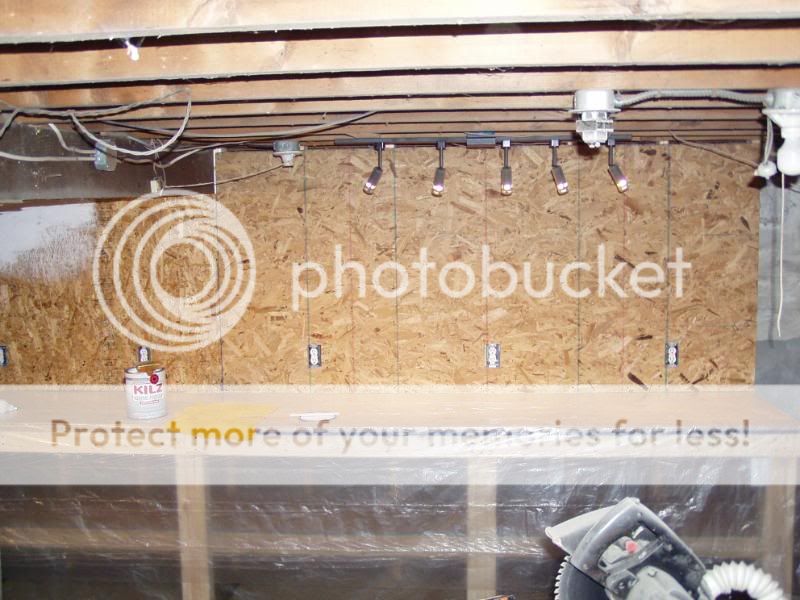
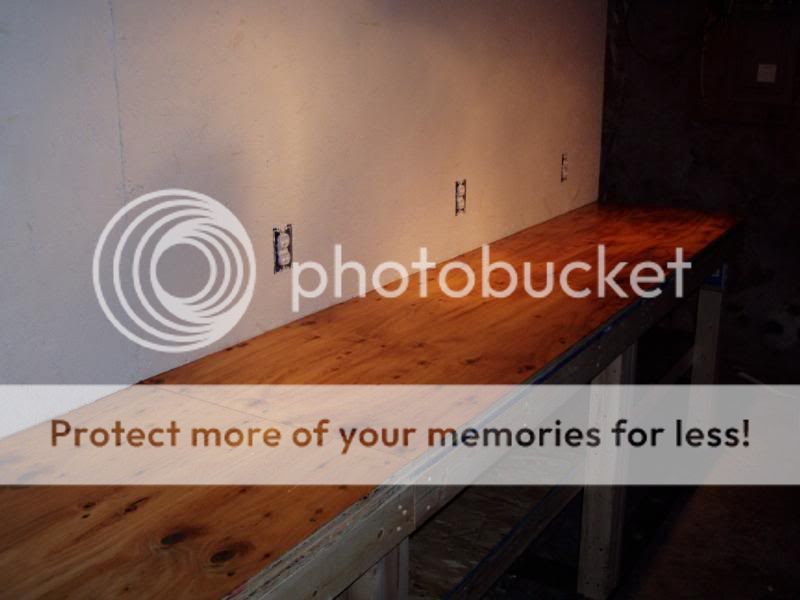
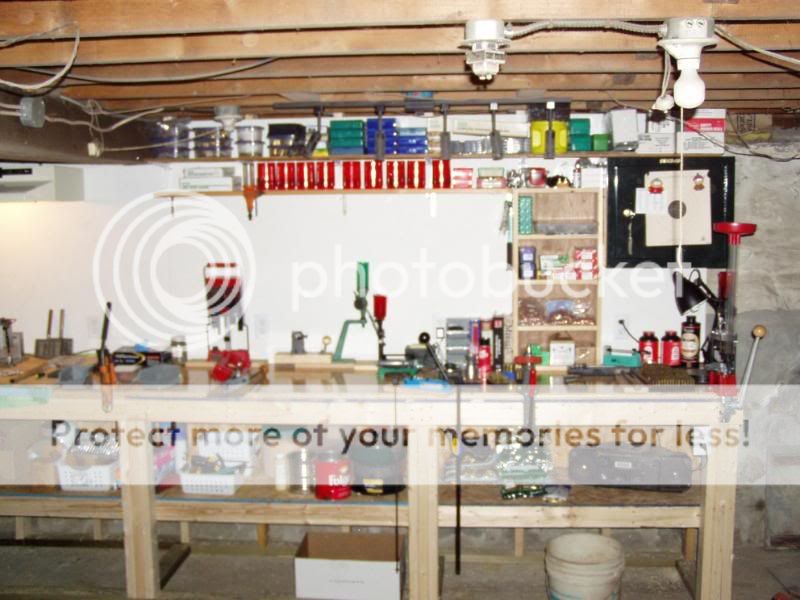
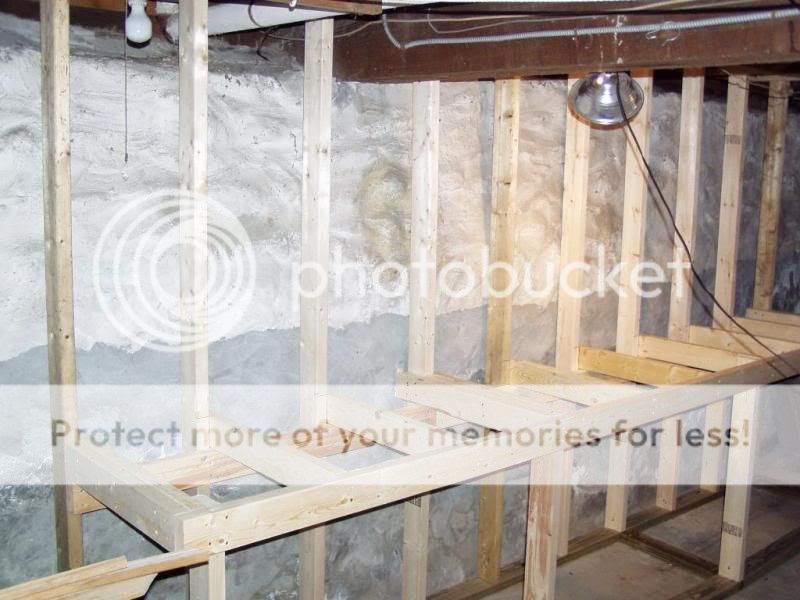
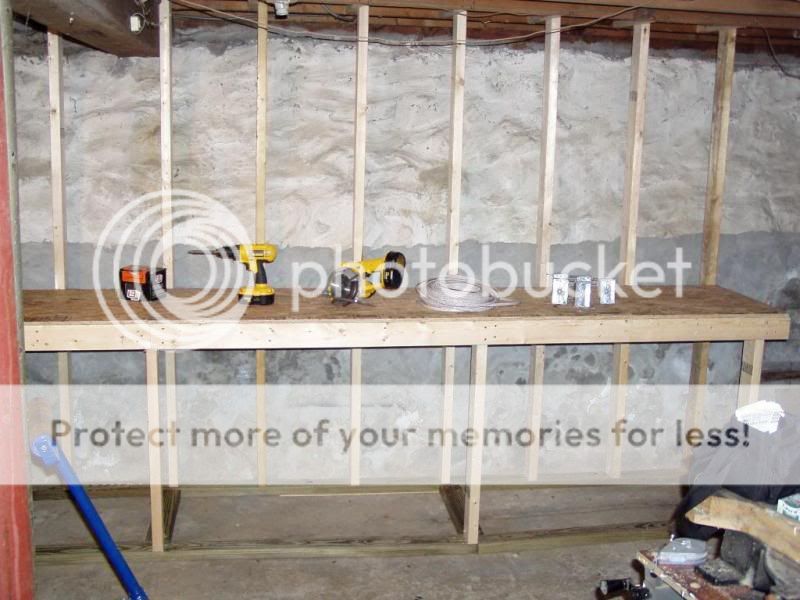
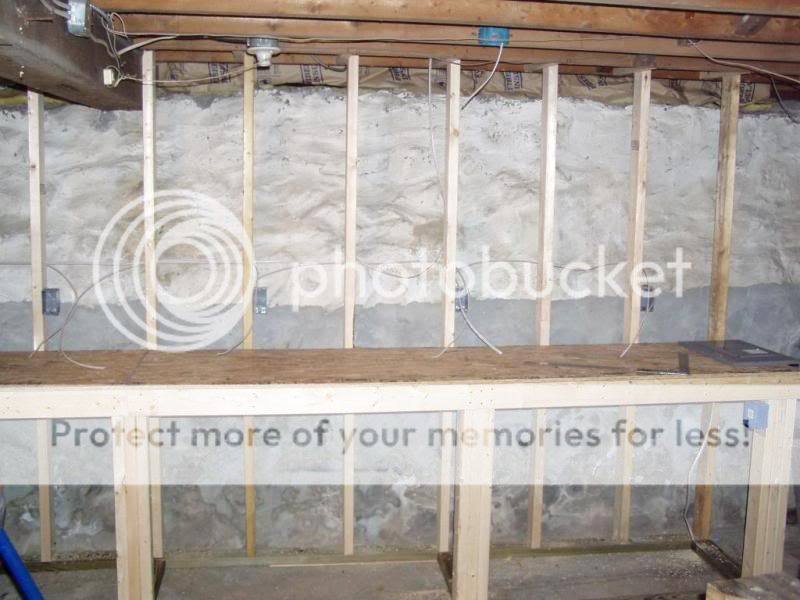
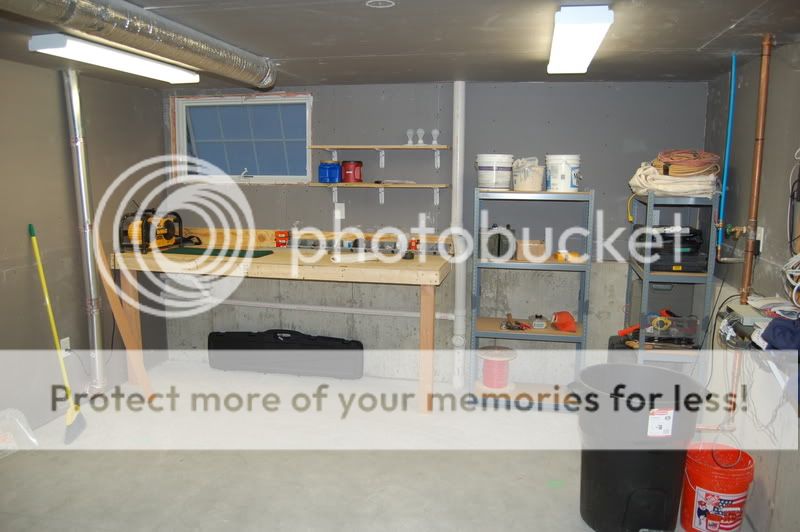
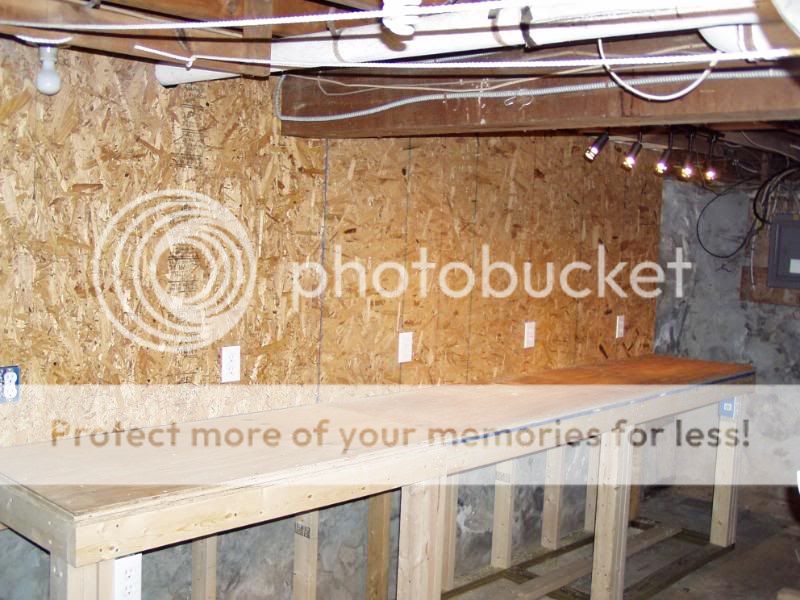
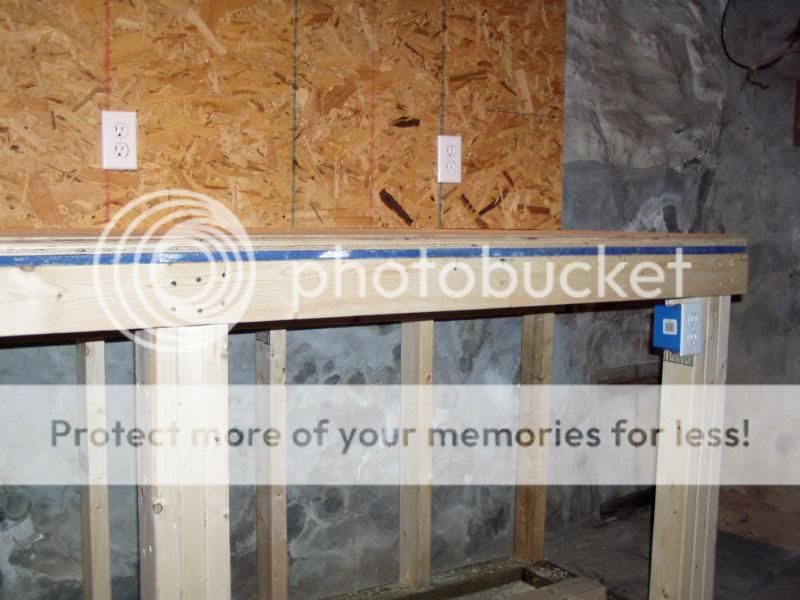
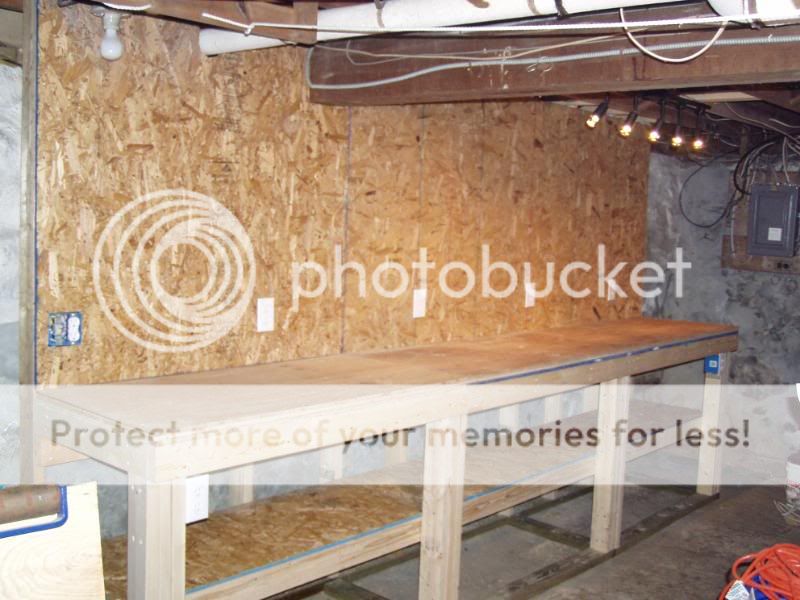
Fast forward to today. Finished shingling the roof of sis's house and decided to do a little something for myself in the basement. Sis only goes down there to do laundry, so she said I could do whatever I want down there. I cleaned up the front wall and started building a new reloading bench with some lumber I had laying around. It's still a work in progress, but not a bad start for 4 hours work. Bench is 12' long, 2' deep, and 36" high. It was tough at first to get anything straight due to the wavy floor and fieldstone foundation, but after a little trial and error I think the frame turned out well. It's straight, level, and plumb. Everything so far is screwed together with 3' deck screws. I only stopped because I ran out of lumber and gumption.![[smile]](/xen/styles/default/xenforo/smilies.vb/001.gif "Smile [smile]") Next steps will be insulating behind it, adding more support to the framework, adding shelves above and below, adding a 3/4' thick plywood top, wiring it for outlets and lights, then bolting down the vise, grinder, and presses.
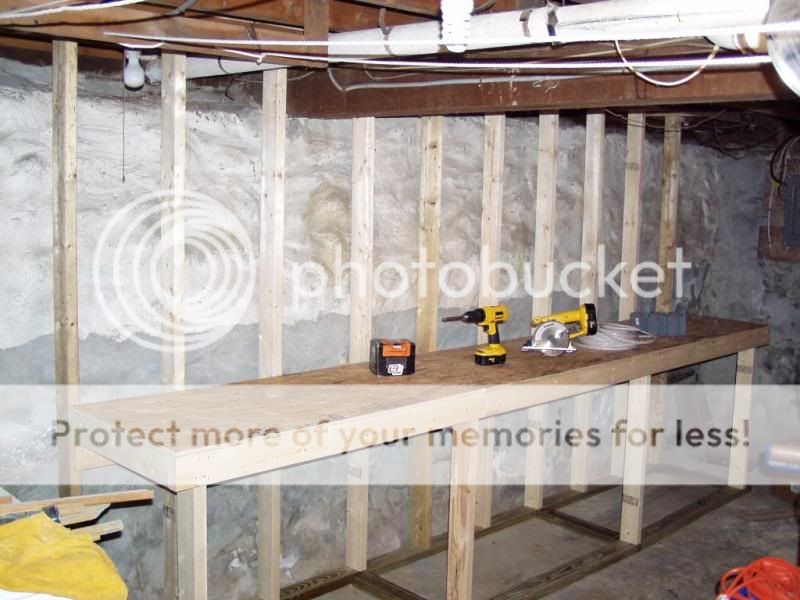
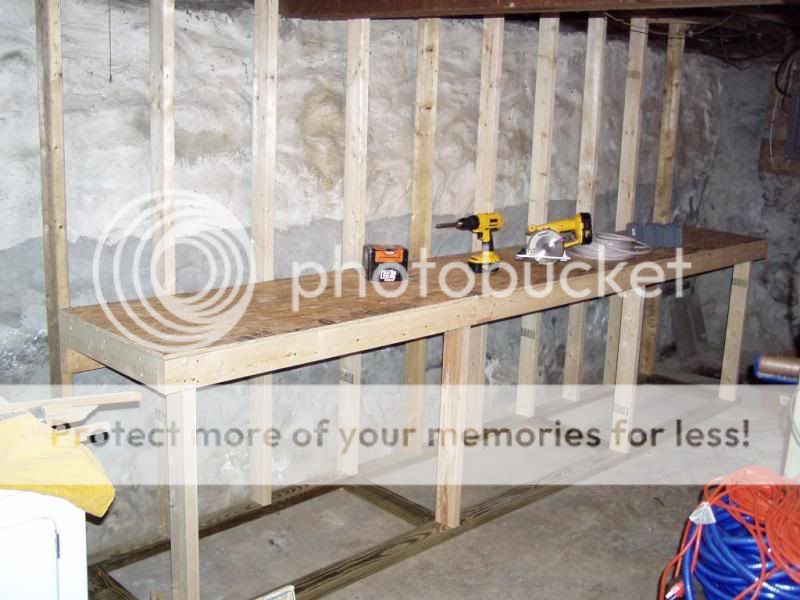
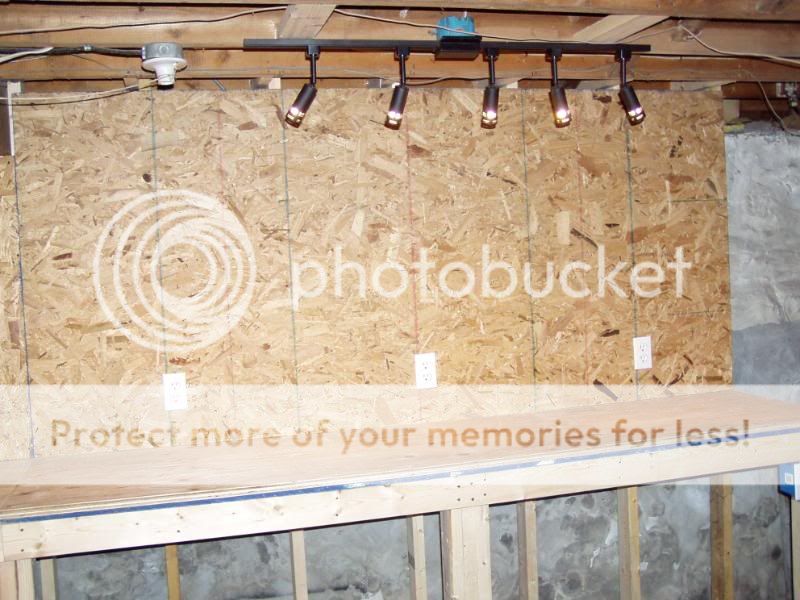
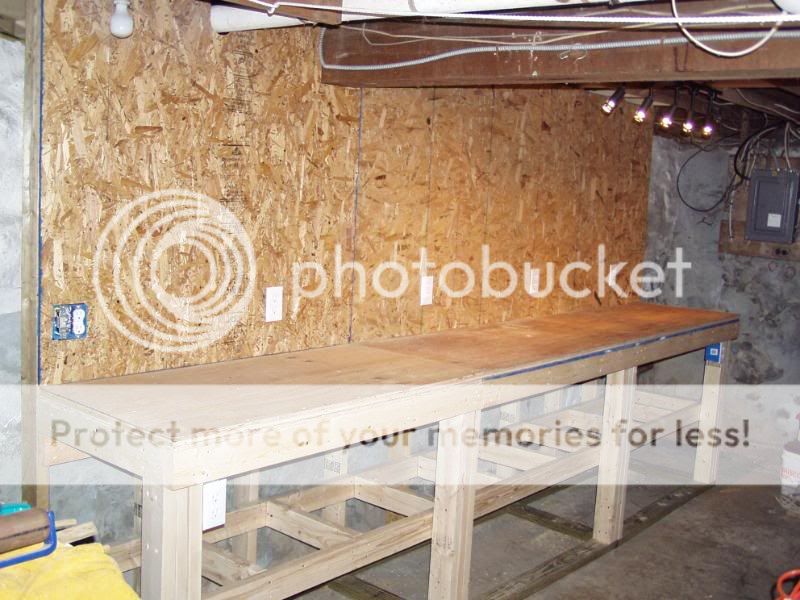
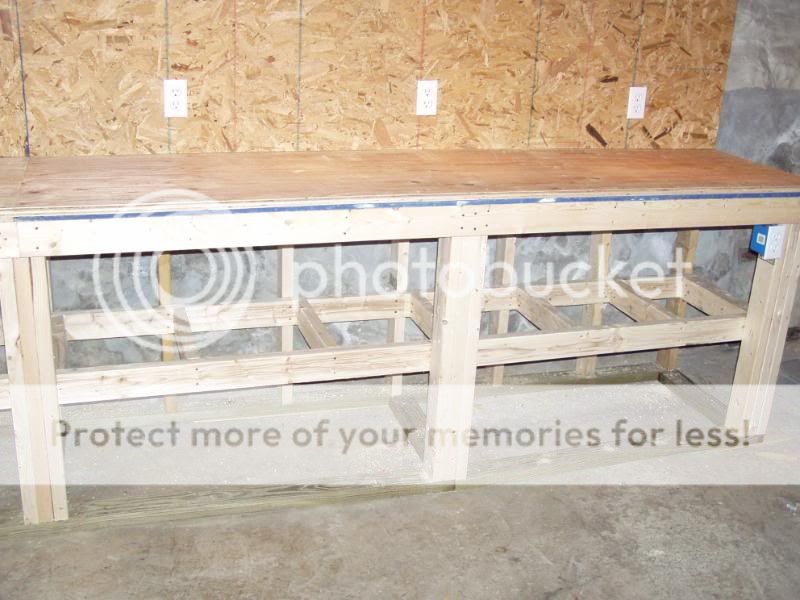
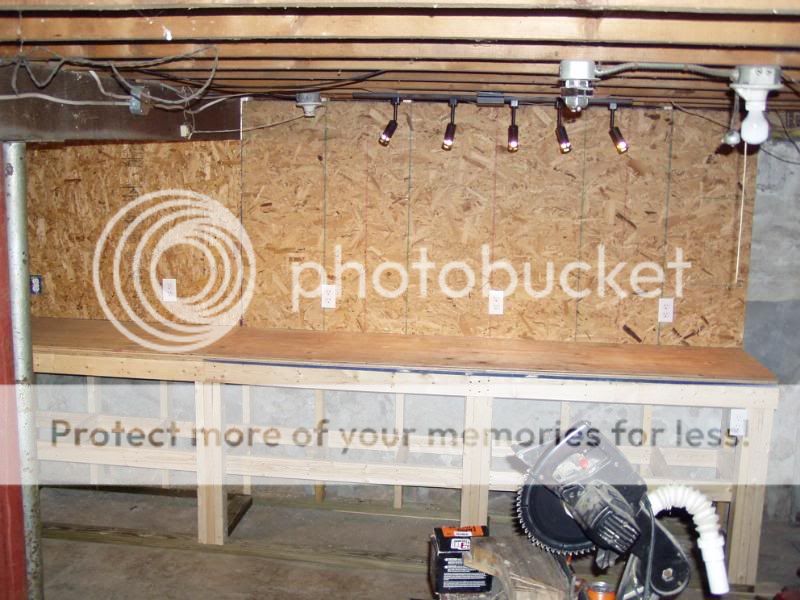
Next steps will be insulating behind it, adding more support to the framework, adding shelves above and below, adding a 3/4' thick plywood top, wiring it for outlets and lights, then bolting down the vise, grinder, and presses.
I'll keep updating this thread as I complete more work. Thanks for looking!![[grin]](/xen/styles/default/xenforo/smilies.vb/041.gif "Grin [grin]")
Jamie

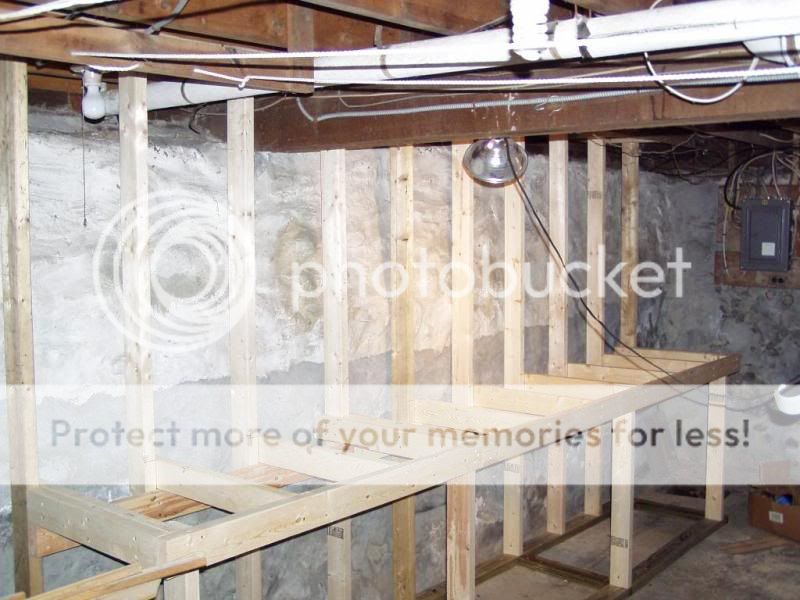
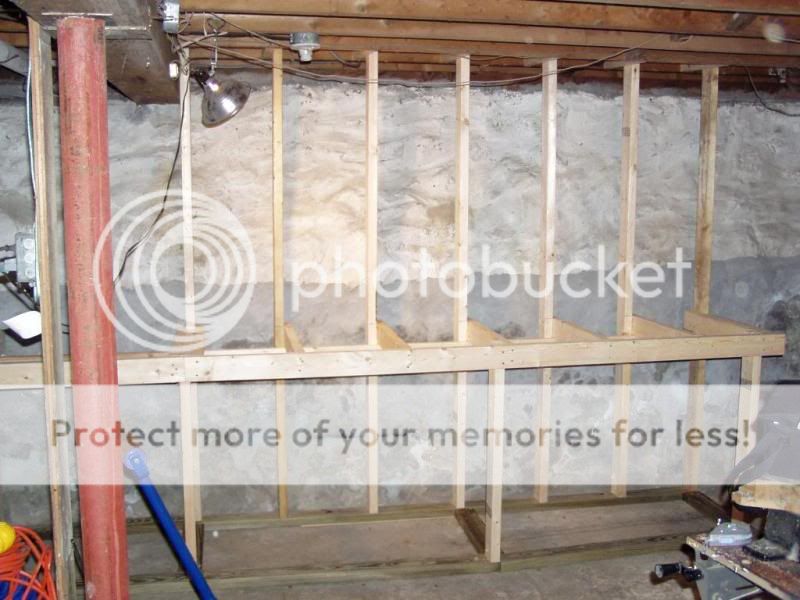
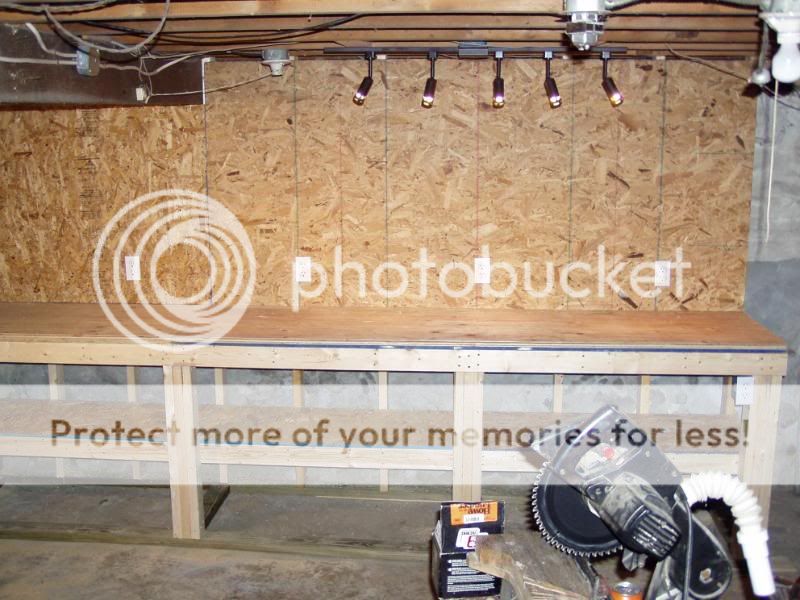
Fast forward to today. Finished shingling the roof of sis's house and decided to do a little something for myself in the basement. Sis only goes down there to do laundry, so she said I could do whatever I want down there. I cleaned up the front wall and started building a new reloading bench with some lumber I had laying around. It's still a work in progress, but not a bad start for 4 hours work. Bench is 12' long, 2' deep, and 36" high. It was tough at first to get anything straight due to the wavy floor and fieldstone foundation, but after a little trial and error I think the frame turned out well. It's straight, level, and plumb. Everything so far is screwed together with 3' deck screws. I only stopped because I ran out of lumber and gumption.
Next steps will be insulating behind it, adding more support to the framework, adding shelves above and below, adding a 3/4' thick plywood top, wiring it for outlets and lights, then bolting down the vise, grinder, and presses.I'll keep updating this thread as I complete more work. Thanks for looking!
Jamie
![[rofl]](/xen/styles/default/xenforo/smilies.vb/013.gif "ROFL [rofl]")

 )
)

![[shocked]](/xen/styles/default/xenforo/smilies.vb/007.gif "Shocked [shocked]")