EMTDAD
NES Member
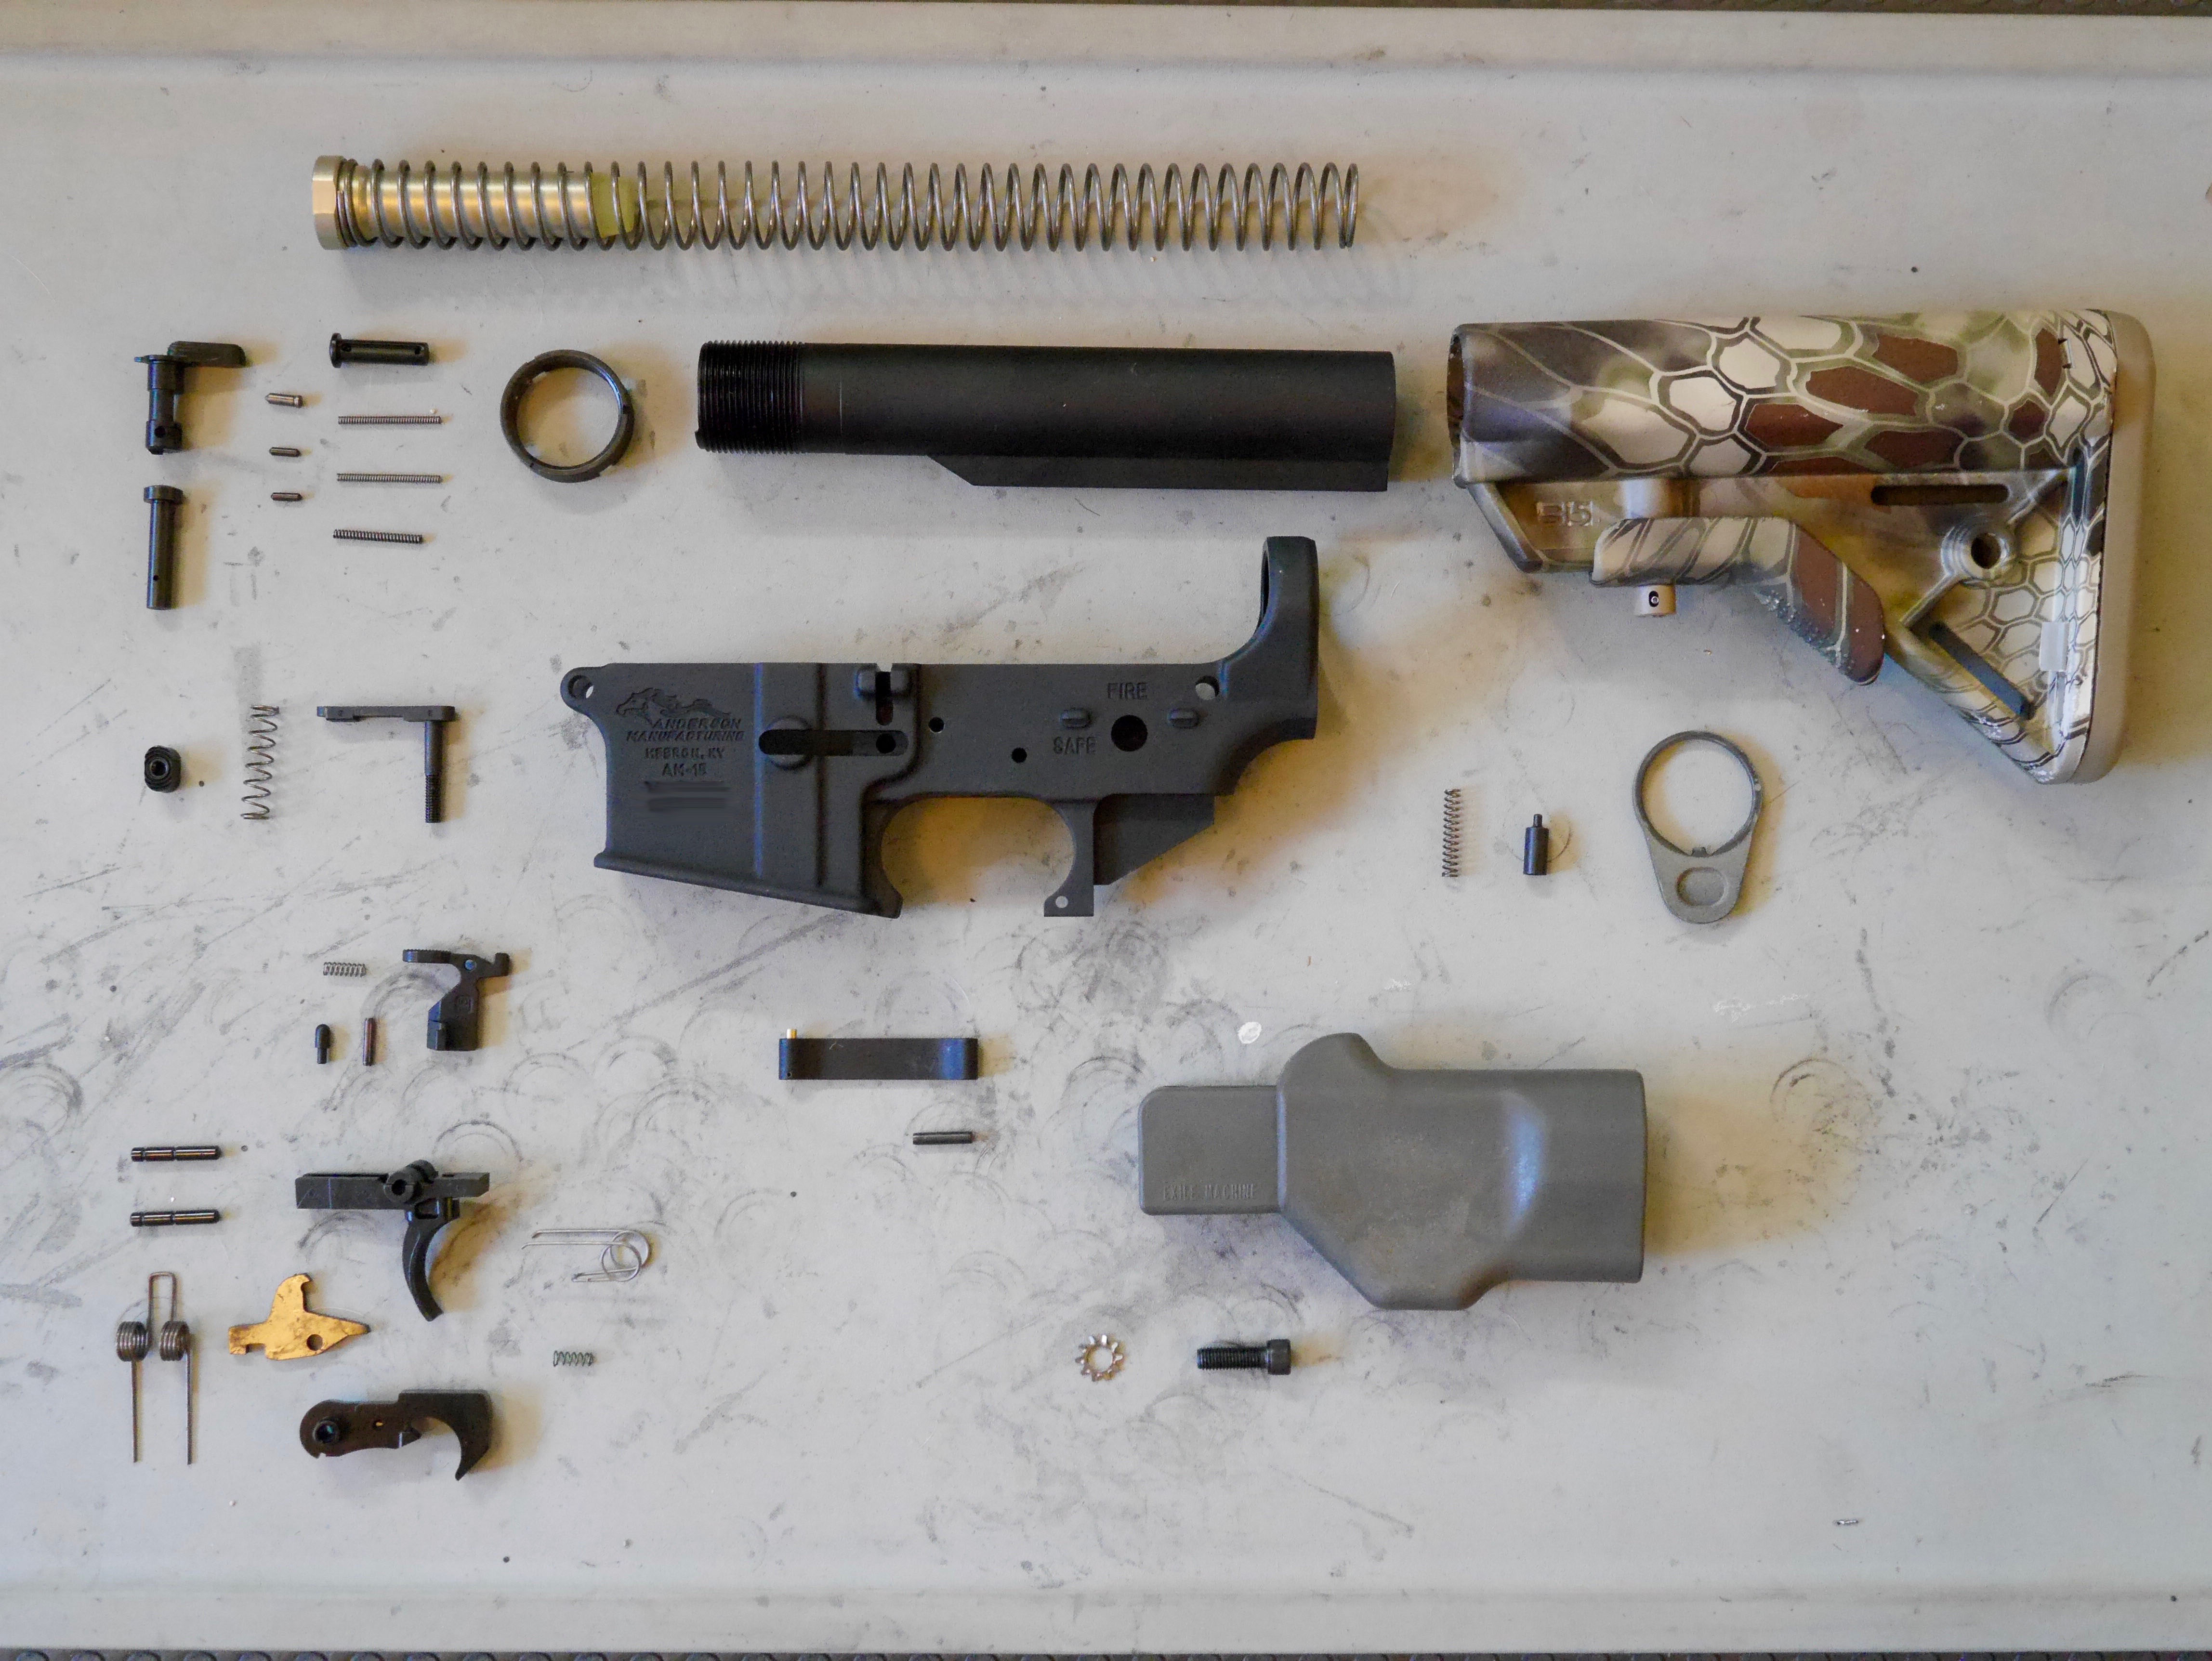
Finally got all my parts for my first lower build.. not using anything fancy or pricey just in case I royally screw something up for my first build..
Stripped receiver
Lower parts kit w/trigger group
Buffer tube assembly
pistol grip
stock
I know I need to either pin the stock, or use one of those stock-stop thingies, eventually..
Anything, other than what's shown in this tutorial, that I should be aware of.. Any tips, things learned the hard way, mistakes to avoid??
 www.pewpewtactical.com
Anything in the tutorial that may be incorrect, misleading, or there might be a better/easier way??
www.pewpewtactical.com
Anything in the tutorial that may be incorrect, misleading, or there might be a better/easier way??
Only tool I don't have yet is the Armorers wrench..
Stripped receiver
Lower parts kit w/trigger group
Buffer tube assembly
pistol grip
stock
I know I need to either pin the stock, or use one of those stock-stop thingies, eventually..
Anything, other than what's shown in this tutorial, that I should be aware of.. Any tips, things learned the hard way, mistakes to avoid??
How to Build an AR-15 Lower Receiver [Ultimate Visual Guide]
Don't want to mess up? Learn how to build an AR-15 lower receiver with 80+ pictures, tricks I learned the hard way, and recommendations of the best parts.
www.pewpewtactical.com
Only tool I don't have yet is the Armorers wrench..
Last edited:


")