Unless you are just being released from GULAG re-education program, you know that Berdan primers are available and plentiful. So how are you de-capping all the brass that you have been collecting and saving for this day… ?
Comrades endlessly bitch about how inconvenient it is to deal with Berdan, well … since your mom stopped wiping your ass, life has been getting more and more inconvenient, so STFU and get back into the bread line!
There are several advantages to decap hydraulically:
Here is an example of what RCBS claw works, it’s pretty damn slow. It is good for lazy capitalists:
[video=youtube_share;pKqwaGmZEW4]http://youtu.be/pKqwaGmZEW4[/video]
This Aussie is using “wet crotch” technique which is probably the fastest and fool proof teqnique, however, there are a few things that he left out:
[video=youtube_share;FskNx4UBZvc]http://youtu.be/FskNx4UBZvc[/video]
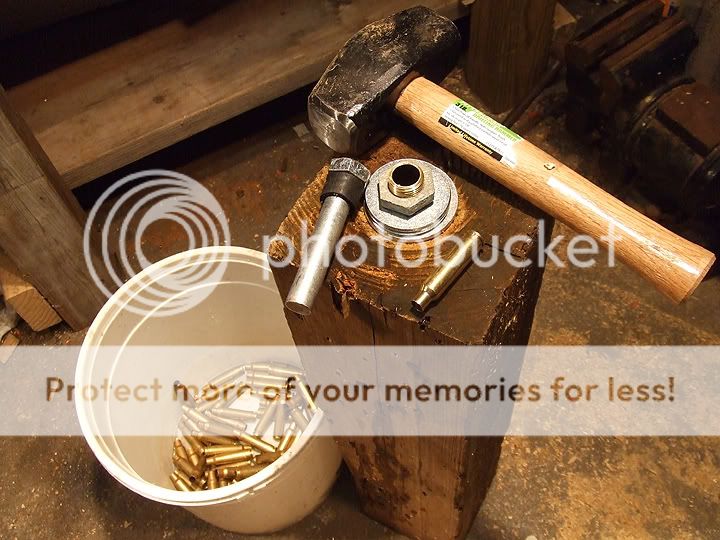
The basic idea is a tube, one end is capped with a hole, large enough to pass primer through. Fill with water, insert plunger, hit with hammer. Water is non-compressable, so hitting the plunger is like hitting the primer directly (at least in theory) In reality, some water will be blown between the plunger and pipe, there is air pocket in the primer, some force of the blow will be dissipated.
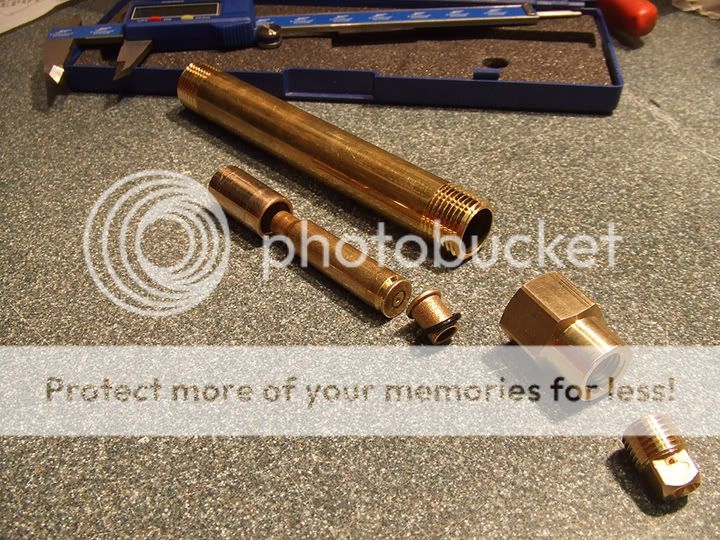
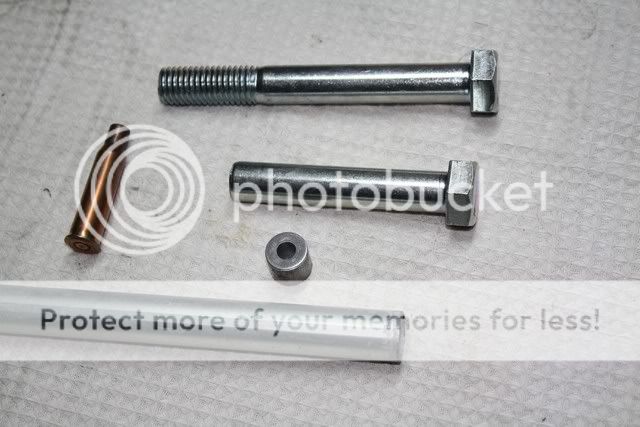
I found a description to make a hydraulic tool similar to what crazy Aussie was using. Here it is assembled. May be I’m missing something, but this tool is total crap, it would never work and I hope that Trotskist who posted that is get caught and end up chopping timber in Siberia.
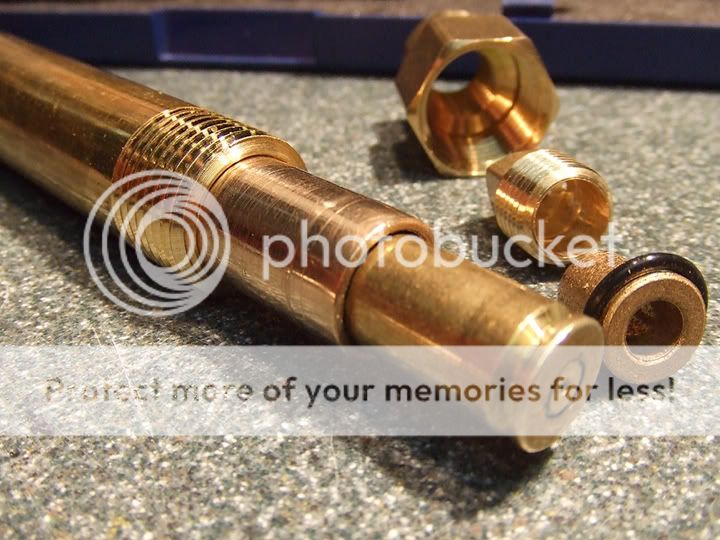
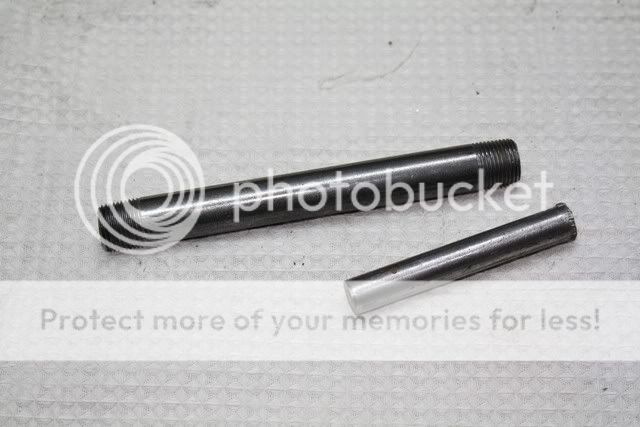
To improve on things, I took 6” of 3/8” black pipe and ½ rod which is available at any home stores. The black pipe contains a weld joint inside. It needs to be removed with a 1/2 “ drill bit. The end was capped/drilled, you can’t really see that from the picture. As plunger I am using about 3-3.5” piece of the rod.
This setup can get some primers out, but it works about 25% of the time and you really need to hit the plunger with vengeance.
After many drinks of vodka and two tapes of Tchaikovsky, I started to wander why the pipes in Australia are so friggin’ thick. Perhaps wet-crotch was trying to hide some information? My best guess was that initial shock of the blow of the hammer was dissipated by the weak, AR looking setup. I needed a much heavier tube/pipe.
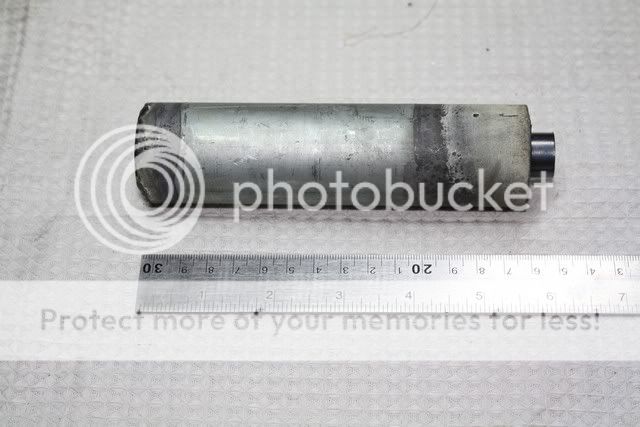
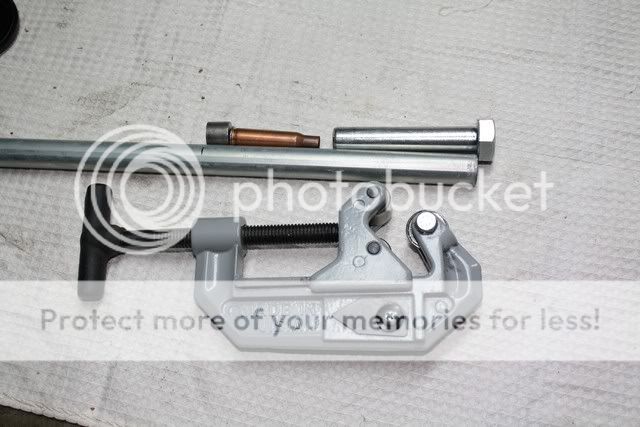
I took my existing 3/8 “ pipe, put it into a piece of electrical counduit and poured lead in the middle. I came up with this contraption:
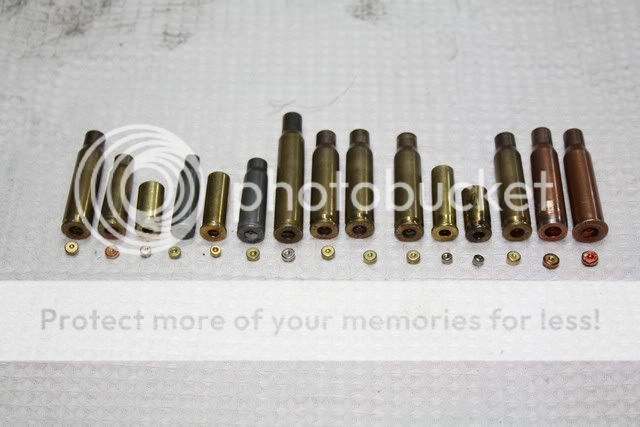
Now the “device” worked really well. It fits most cartridge from 30-06 to other AR, girly and pistol cartridge. A few of cartridge are Boxer primed, some are steel and some were varnished. They all decapped at the first blow.
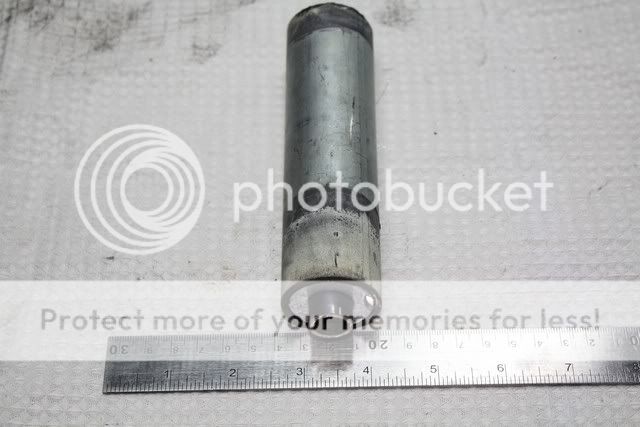
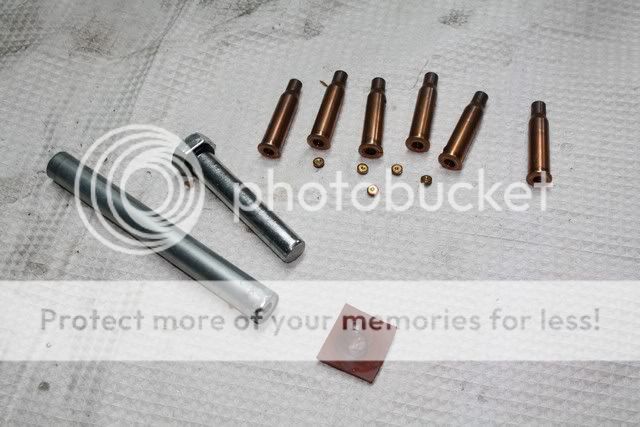
This was all good, but cartridge of Mosin Nagant does not fit into ½ hole. I had to make a special tool. Get ½ “ EMT conduit. That runs for $2 for 10’. Grab a 5/8” x 5” bolt, that should set you back another 2 rubles. The cap was made from a bit of steel. It had to be turned on a lathe to make sure that surface is perfectly square, otherwise you are going to drip water.
Eye-ball how much EMT you need and cut it.
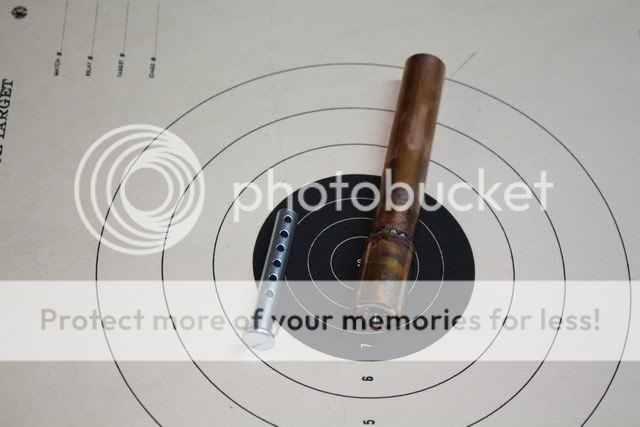
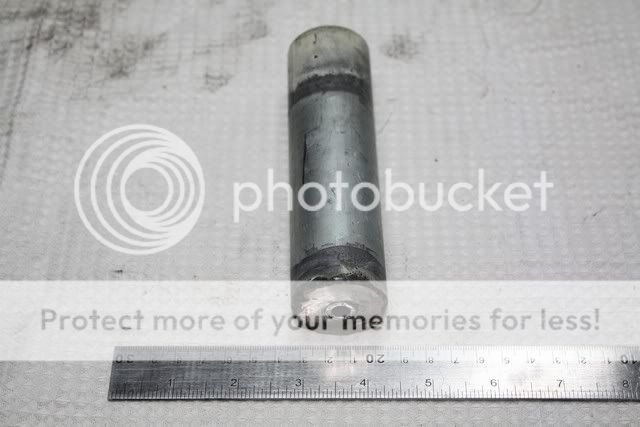
Cartridge of Mosin is large and has a real primer, wide and big. It needs no special heavy tool like puny AR cartridge. You will be able to generate enough hydraulic pressure to pop them on a first hit.
After you fill the tube with water, drop the plunger in. It will start to sink. Once it is sunk half way, hit it! If you hit too early, you may damage the tube. The primer holes are nice and clean too.
The water is not very messy. Try putting scalps of hippies around your anvil to soak up water. Happy shooting comrades!
Comrades endlessly bitch about how inconvenient it is to deal with Berdan, well … since your mom stopped wiping your ass, life has been getting more and more inconvenient, so STFU and get back into the bread line!
There are several advantages to decap hydraulically:
- You don’t care if brass is Berdan or Boxer primed, which means you don’t need to stare into each cartridge and count holes, being afraid to break the decapping pin. Once your brass is decapped, it’s easy to see if it’s Berdan or Boxer.
- You don’t need to sort anything, , caliber, whatever … just drop the cartridge and get the cap off
- Much faster than RCBS “chicken claw” tool.
Here is an example of what RCBS claw works, it’s pretty damn slow. It is good for lazy capitalists:
[video=youtube_share;pKqwaGmZEW4]http://youtu.be/pKqwaGmZEW4[/video]
This Aussie is using “wet crotch” technique which is probably the fastest and fool proof teqnique, however, there are a few things that he left out:
[video=youtube_share;FskNx4UBZvc]http://youtu.be/FskNx4UBZvc[/video]
The basic idea is a tube, one end is capped with a hole, large enough to pass primer through. Fill with water, insert plunger, hit with hammer. Water is non-compressable, so hitting the plunger is like hitting the primer directly (at least in theory) In reality, some water will be blown between the plunger and pipe, there is air pocket in the primer, some force of the blow will be dissipated.
I found a description to make a hydraulic tool similar to what crazy Aussie was using. Here it is assembled. May be I’m missing something, but this tool is total crap, it would never work and I hope that Trotskist who posted that is get caught and end up chopping timber in Siberia.
To improve on things, I took 6” of 3/8” black pipe and ½ rod which is available at any home stores. The black pipe contains a weld joint inside. It needs to be removed with a 1/2 “ drill bit. The end was capped/drilled, you can’t really see that from the picture. As plunger I am using about 3-3.5” piece of the rod.
This setup can get some primers out, but it works about 25% of the time and you really need to hit the plunger with vengeance.
After many drinks of vodka and two tapes of Tchaikovsky, I started to wander why the pipes in Australia are so friggin’ thick. Perhaps wet-crotch was trying to hide some information? My best guess was that initial shock of the blow of the hammer was dissipated by the weak, AR looking setup. I needed a much heavier tube/pipe.
I took my existing 3/8 “ pipe, put it into a piece of electrical counduit and poured lead in the middle. I came up with this contraption:
Now the “device” worked really well. It fits most cartridge from 30-06 to other AR, girly and pistol cartridge. A few of cartridge are Boxer primed, some are steel and some were varnished. They all decapped at the first blow.
This was all good, but cartridge of Mosin Nagant does not fit into ½ hole. I had to make a special tool. Get ½ “ EMT conduit. That runs for $2 for 10’. Grab a 5/8” x 5” bolt, that should set you back another 2 rubles. The cap was made from a bit of steel. It had to be turned on a lathe to make sure that surface is perfectly square, otherwise you are going to drip water.
Eye-ball how much EMT you need and cut it.
Cartridge of Mosin is large and has a real primer, wide and big. It needs no special heavy tool like puny AR cartridge. You will be able to generate enough hydraulic pressure to pop them on a first hit.
After you fill the tube with water, drop the plunger in. It will start to sink. Once it is sunk half way, hit it! If you hit too early, you may damage the tube. The primer holes are nice and clean too.
The water is not very messy. Try putting scalps of hippies around your anvil to soak up water. Happy shooting comrades!
![[shocked]](/xen/styles/default/xenforo/smilies.vb/007.gif "Shocked [shocked]") Can you take pictures of your setup? I found your post after making all this stuff, I don't know what's easier. I believe that you hammer yours upside down with plunger going into the cartridge. Does it need to be a tight fit? How reliable is it in terms of getting the primer out on a first blow, does it ever damage the cartridge?
Can you take pictures of your setup? I found your post after making all this stuff, I don't know what's easier. I believe that you hammer yours upside down with plunger going into the cartridge. Does it need to be a tight fit? How reliable is it in terms of getting the primer out on a first blow, does it ever damage the cartridge?
![[laugh]](/xen/styles/default/xenforo/smilies.vb/012.gif "Laugh [laugh]")