Using Amazon as a source, all the items have arrived much quicker than expected. Even the motors from China came in on Thursday.
Few initial improvements:
The motor shaft is 5/16", what I did is went to the local hardware store and bought a 5/16" shaft collar with set screw which will be welded into the center of the 6" circular pan. In regards to the rotating cylinder that times the bullet from the hopper, either I am going to use a PVC pipe as a mold and fill it with thickened epoxy resin or look into some other form up tube.
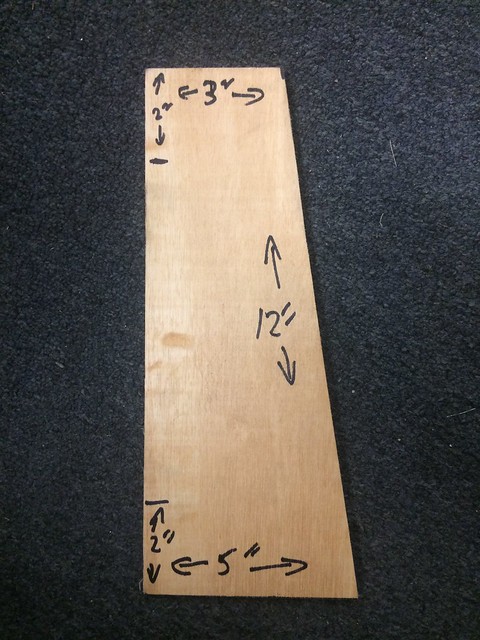
I also plan on making the face of the machine out of 22 gauge steel that will be primed and painted. The side plates will be wood, most likely nicely varnished or something.
I will update in 2 weeks when I get back from being on the road for work. As of now, I am about $80 into it.
![[smile]](/xen/styles/default/xenforo/smilies.vb/001.gif "Smile [smile]") .
.![[rofl]](/xen/styles/default/xenforo/smilies.vb/013.gif "ROFL [rofl]")